How do I create a REWARDS CARD?
A Reward Card allows customers to collect points with every purchase, every visit, or on how much they spend in your store/establishment. You can offer different types of rewards with a point value. Once they reach the correct tier level, they have earned that reward.
- Once you are logged in select the CARDS option on the left hand menu
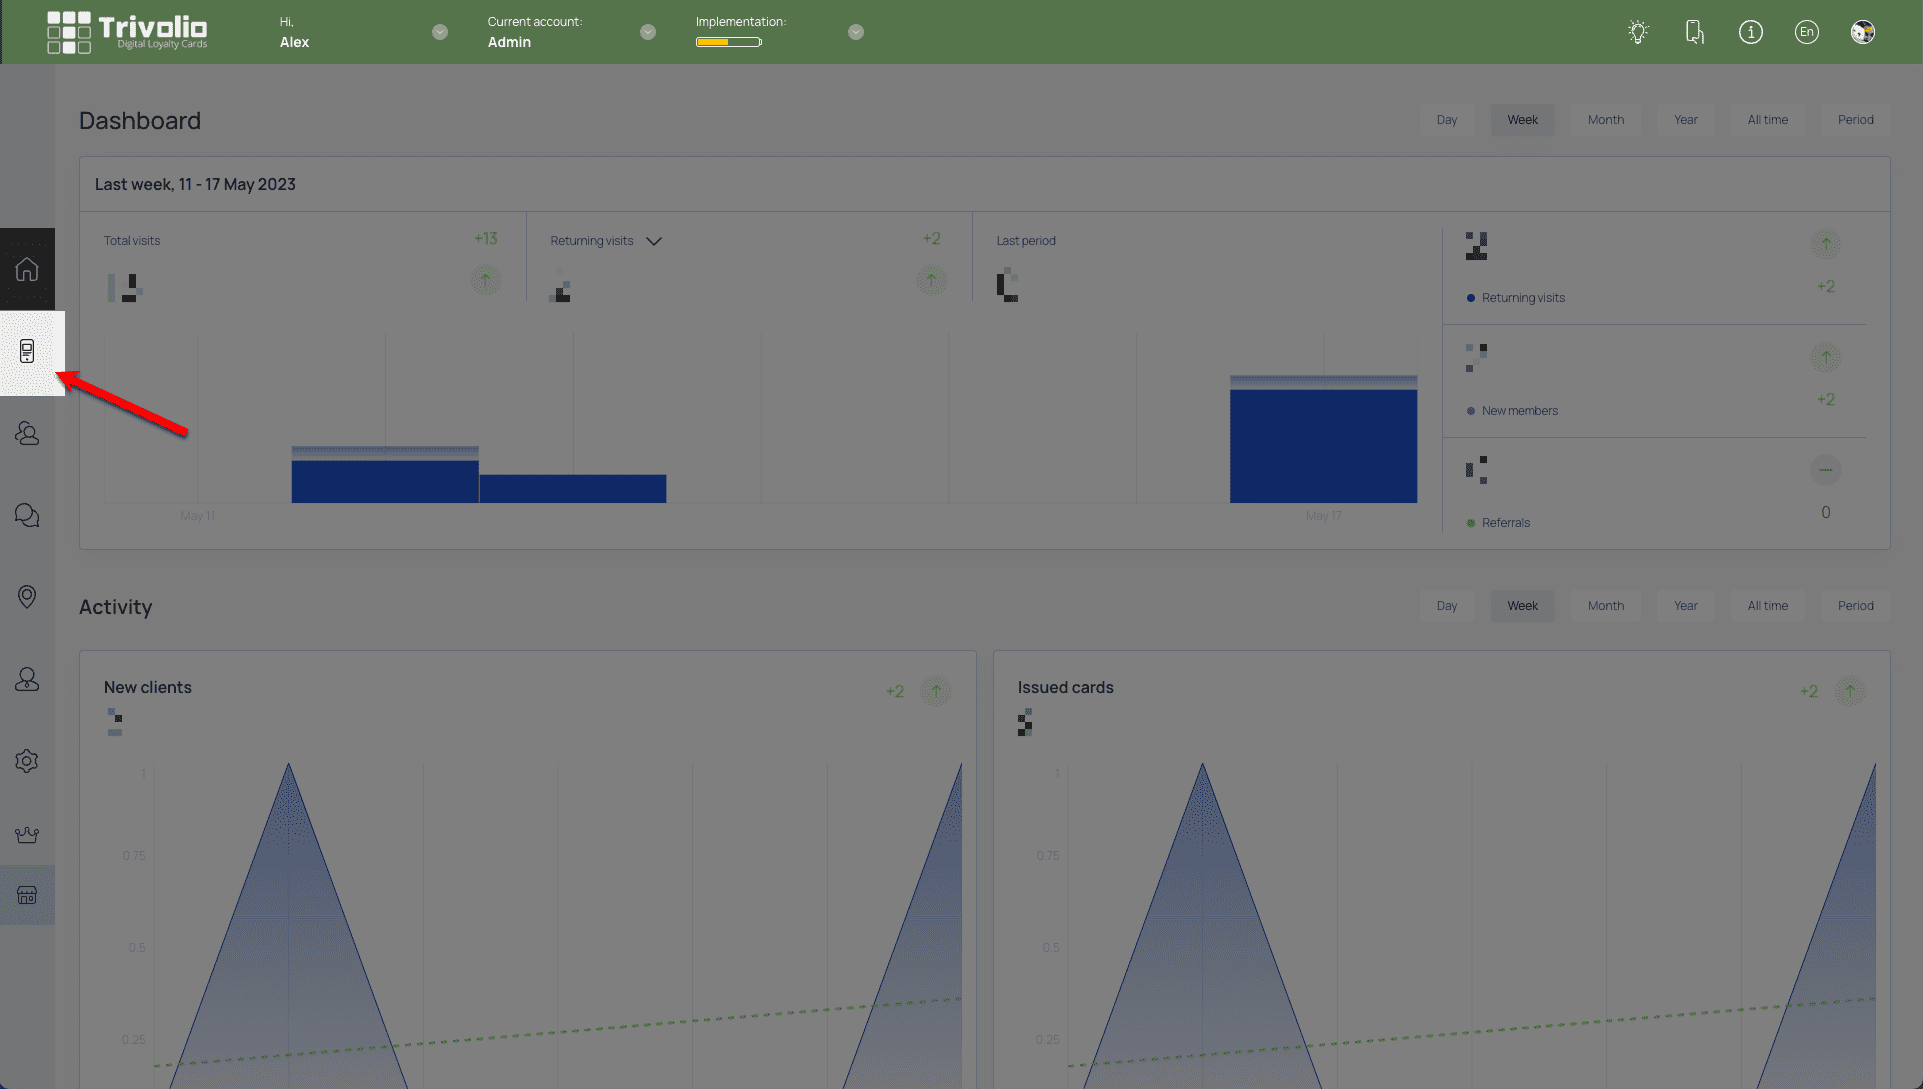
- Choose to start from one of the over 100 pre-built templates or start with a blank version (scratch)
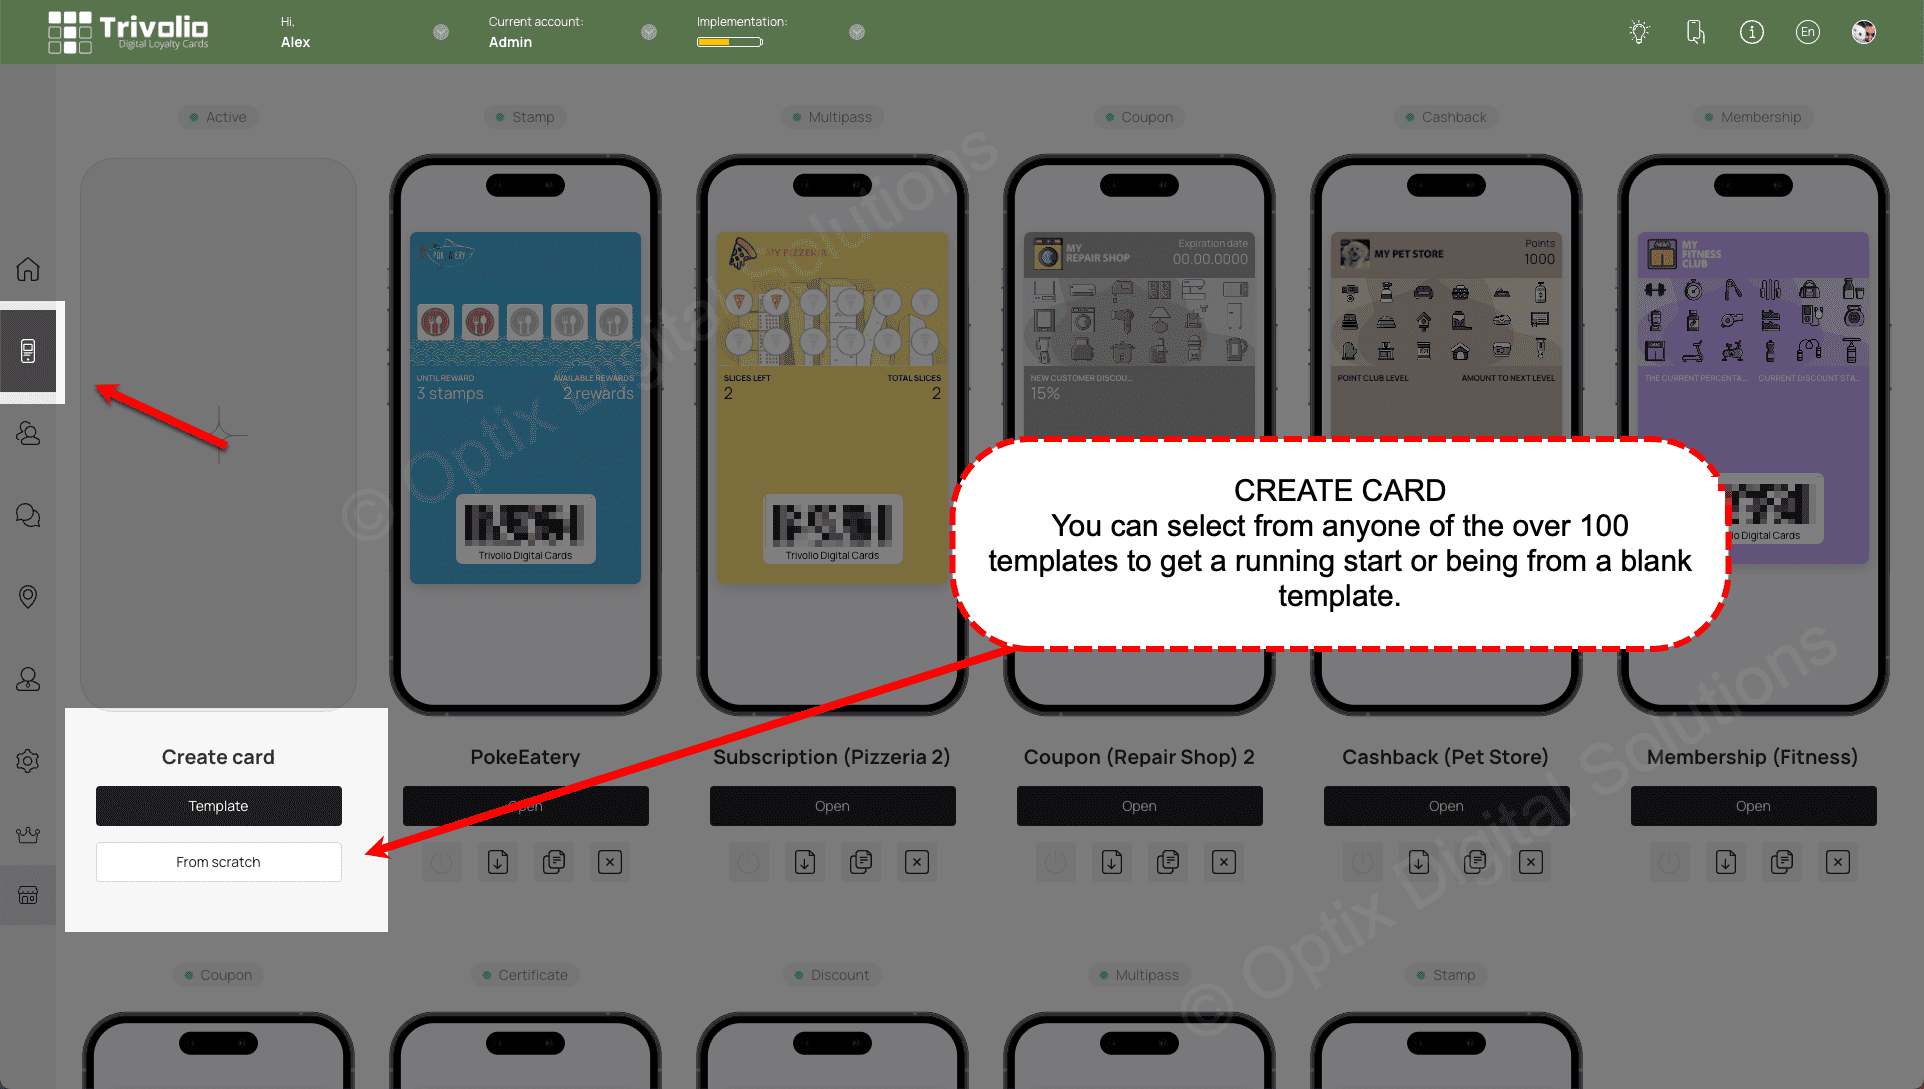
CARD TYPE
- Select the Rewards Card Type
SETTINGS
- Determine the type or reward program you wish to set up.
You have 3 types to choose from: A. Spend, B. Visit, C. Points.
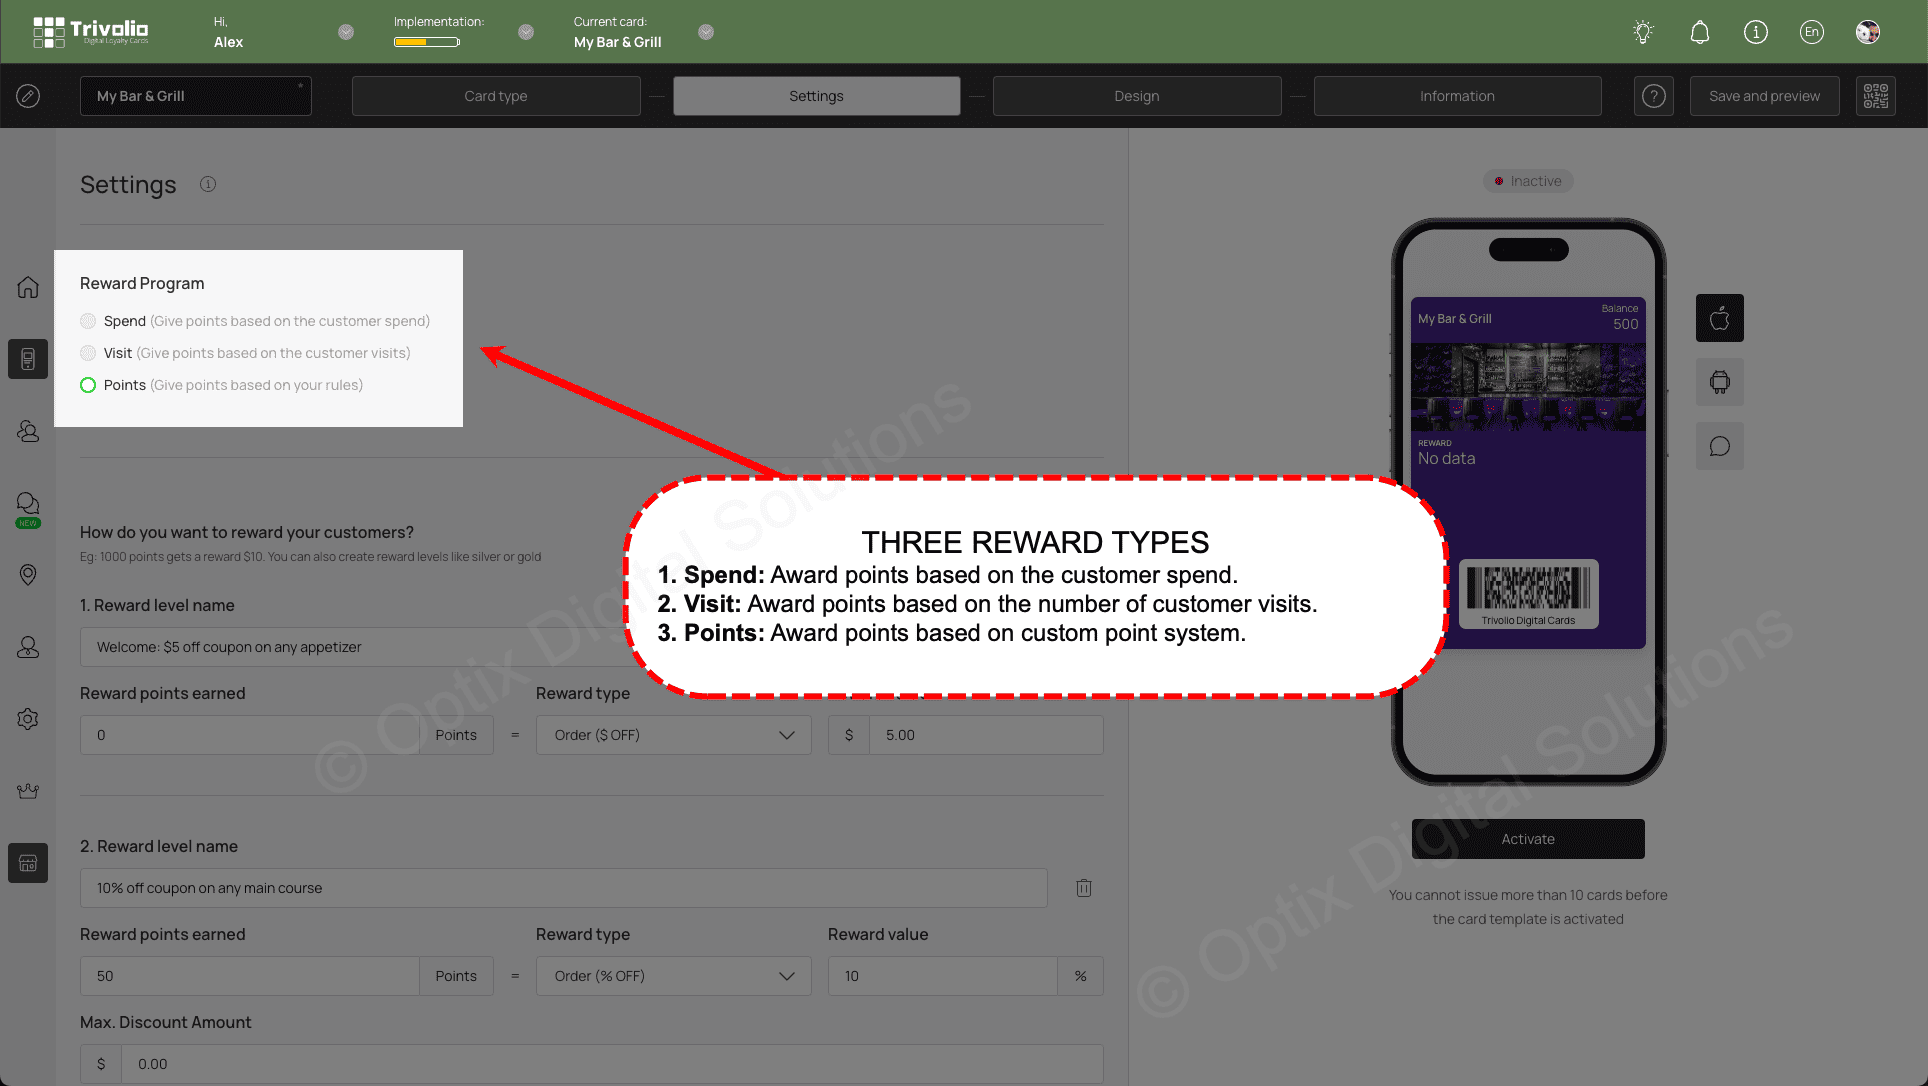
A. SPEND: Award points base on how much they spend. For example for every $100 they spend they earn $1 (or one point).
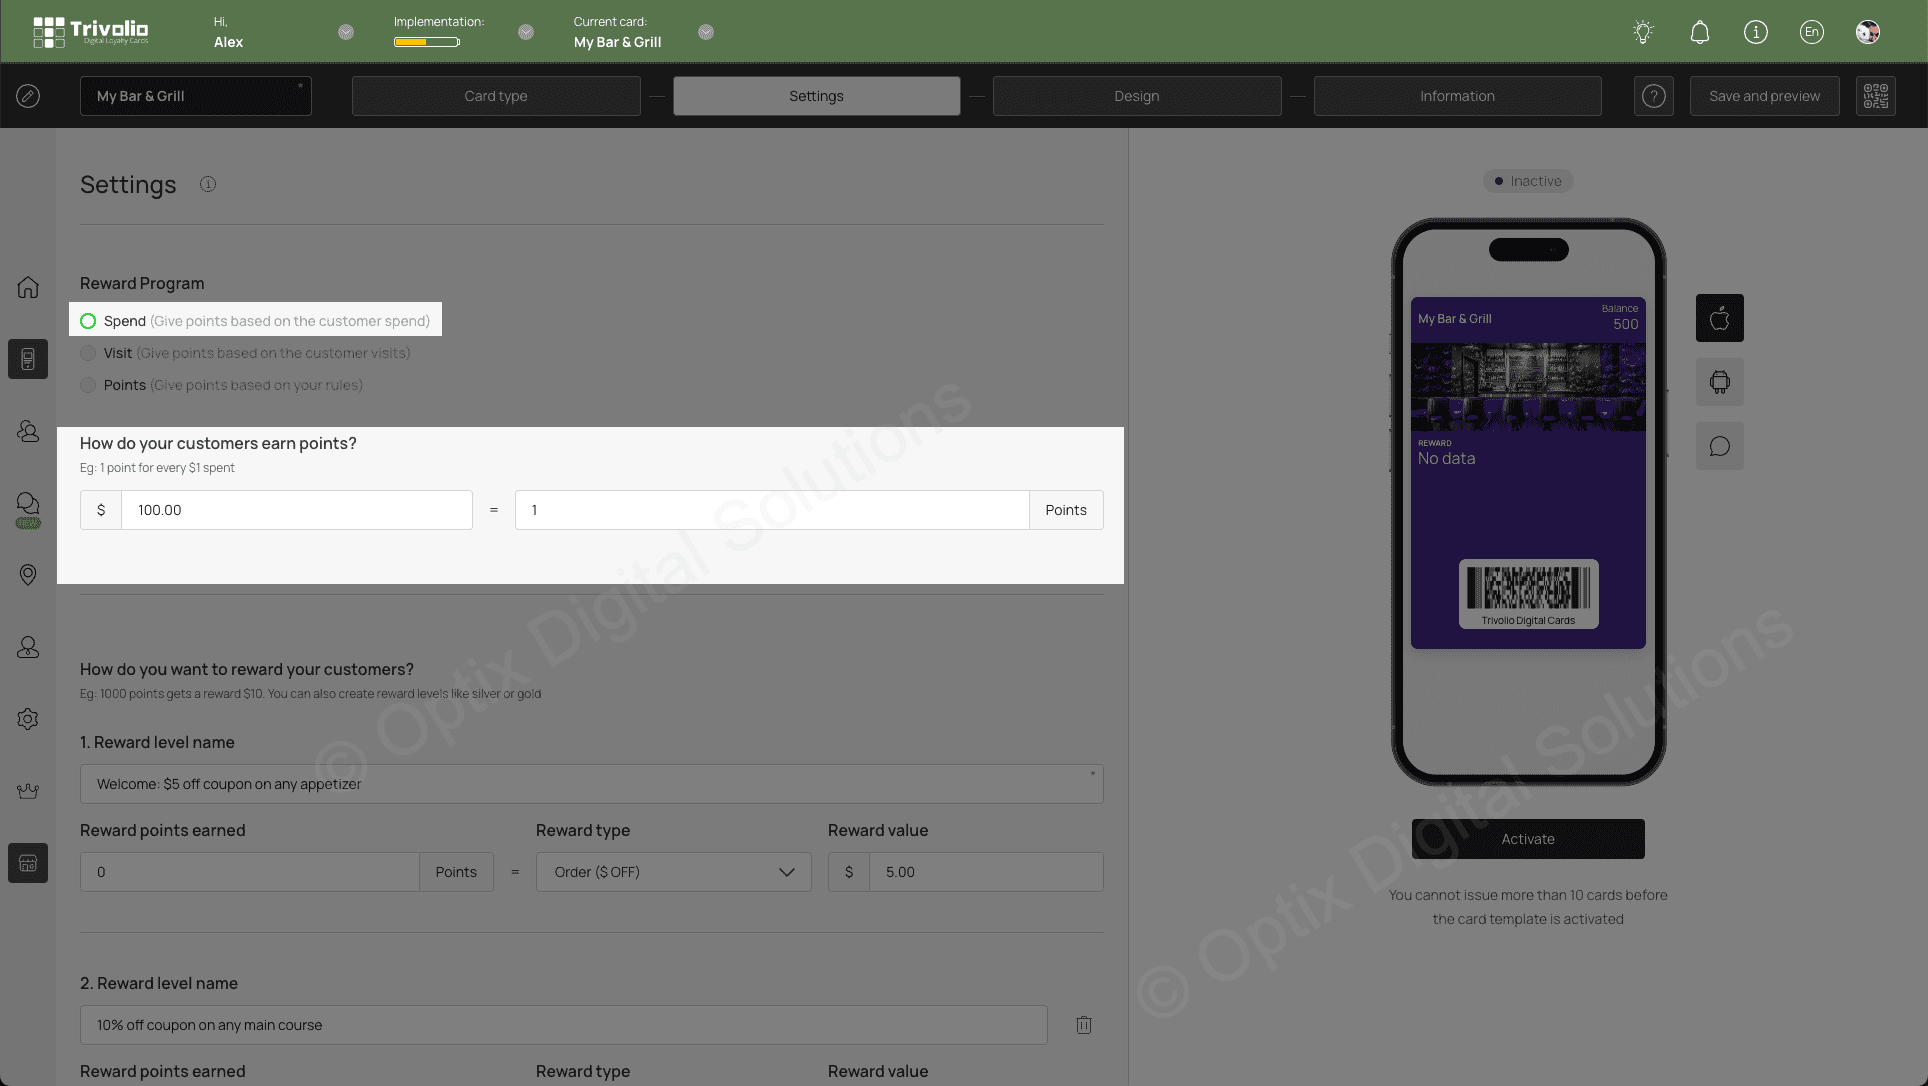
B. VISITS: Award points for every visit they make to the store.
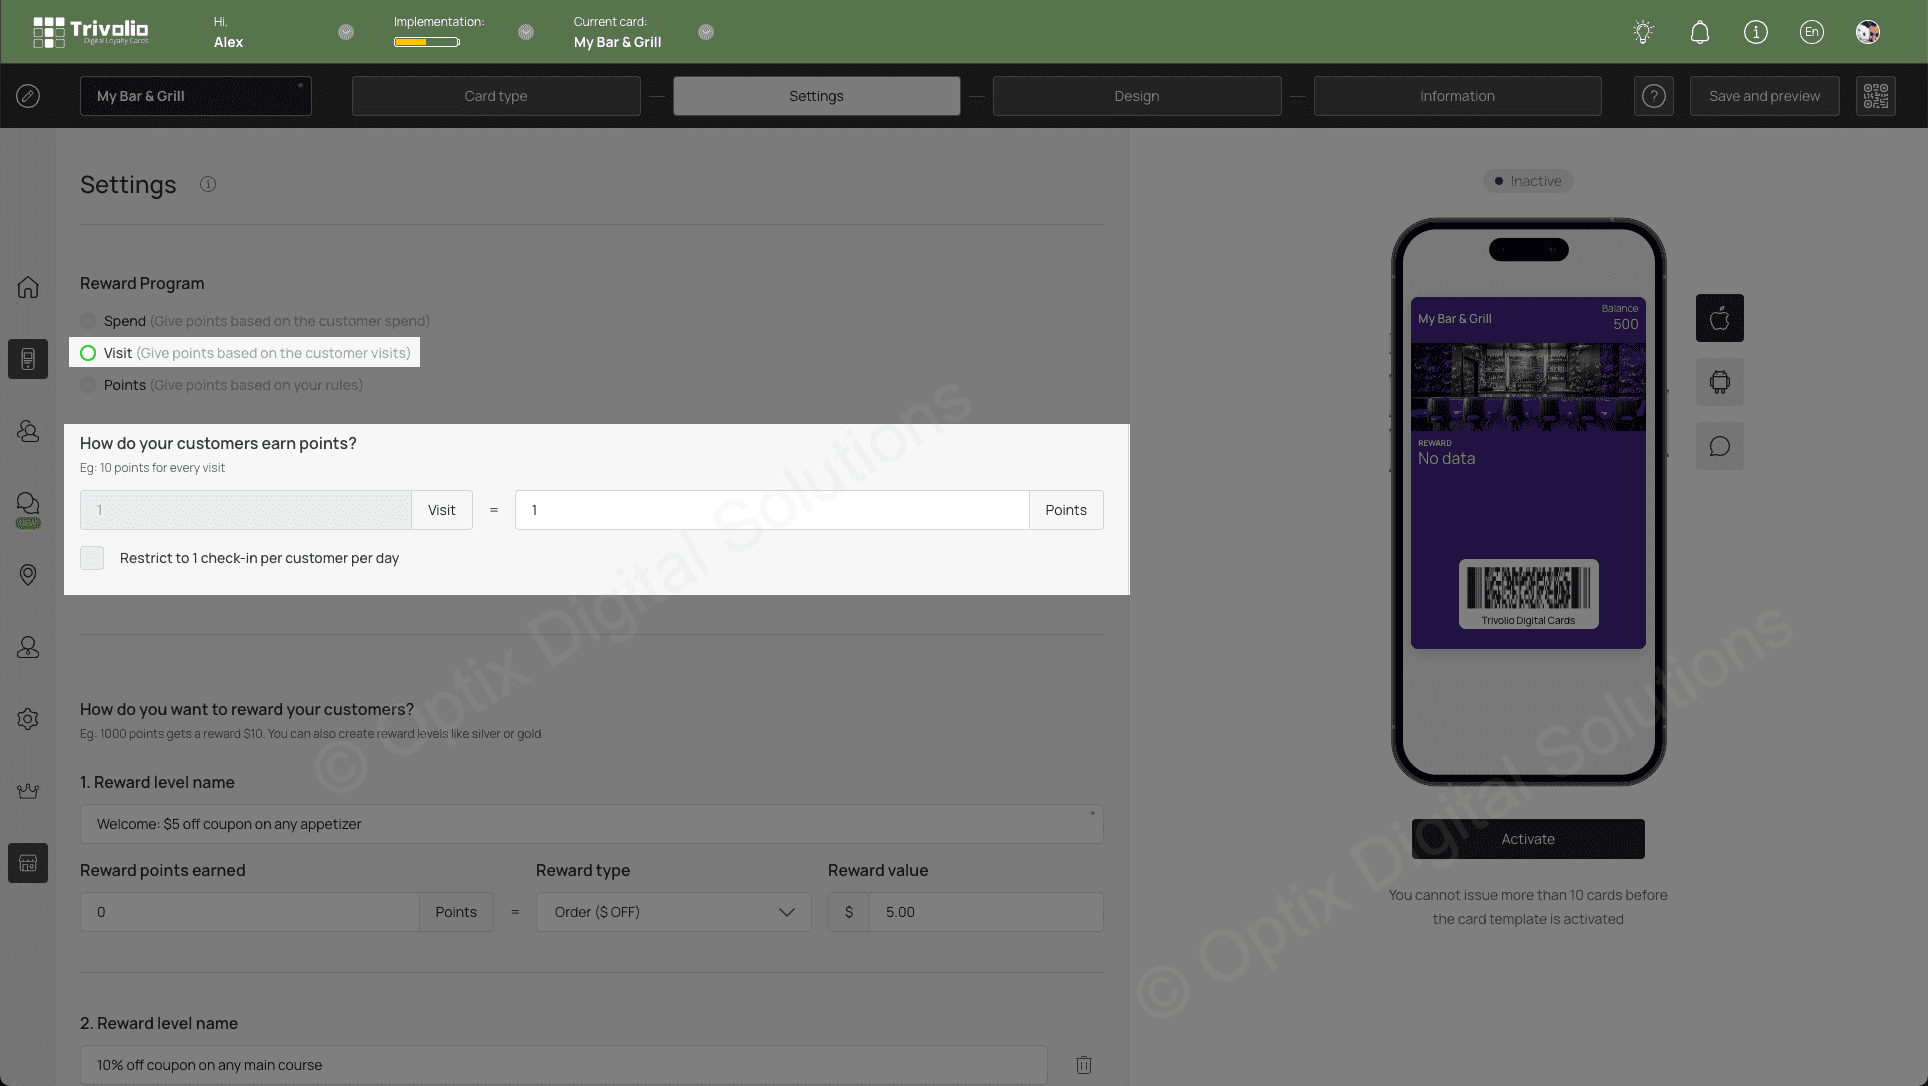
We recommend enabling the "Restrict to one check-in per customer per day" to avoid misuse of the loyalty program.

C. POINTS Award points based on a custom rule you wish to initiate. For example offer points for buying a special item.
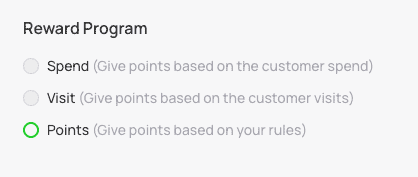
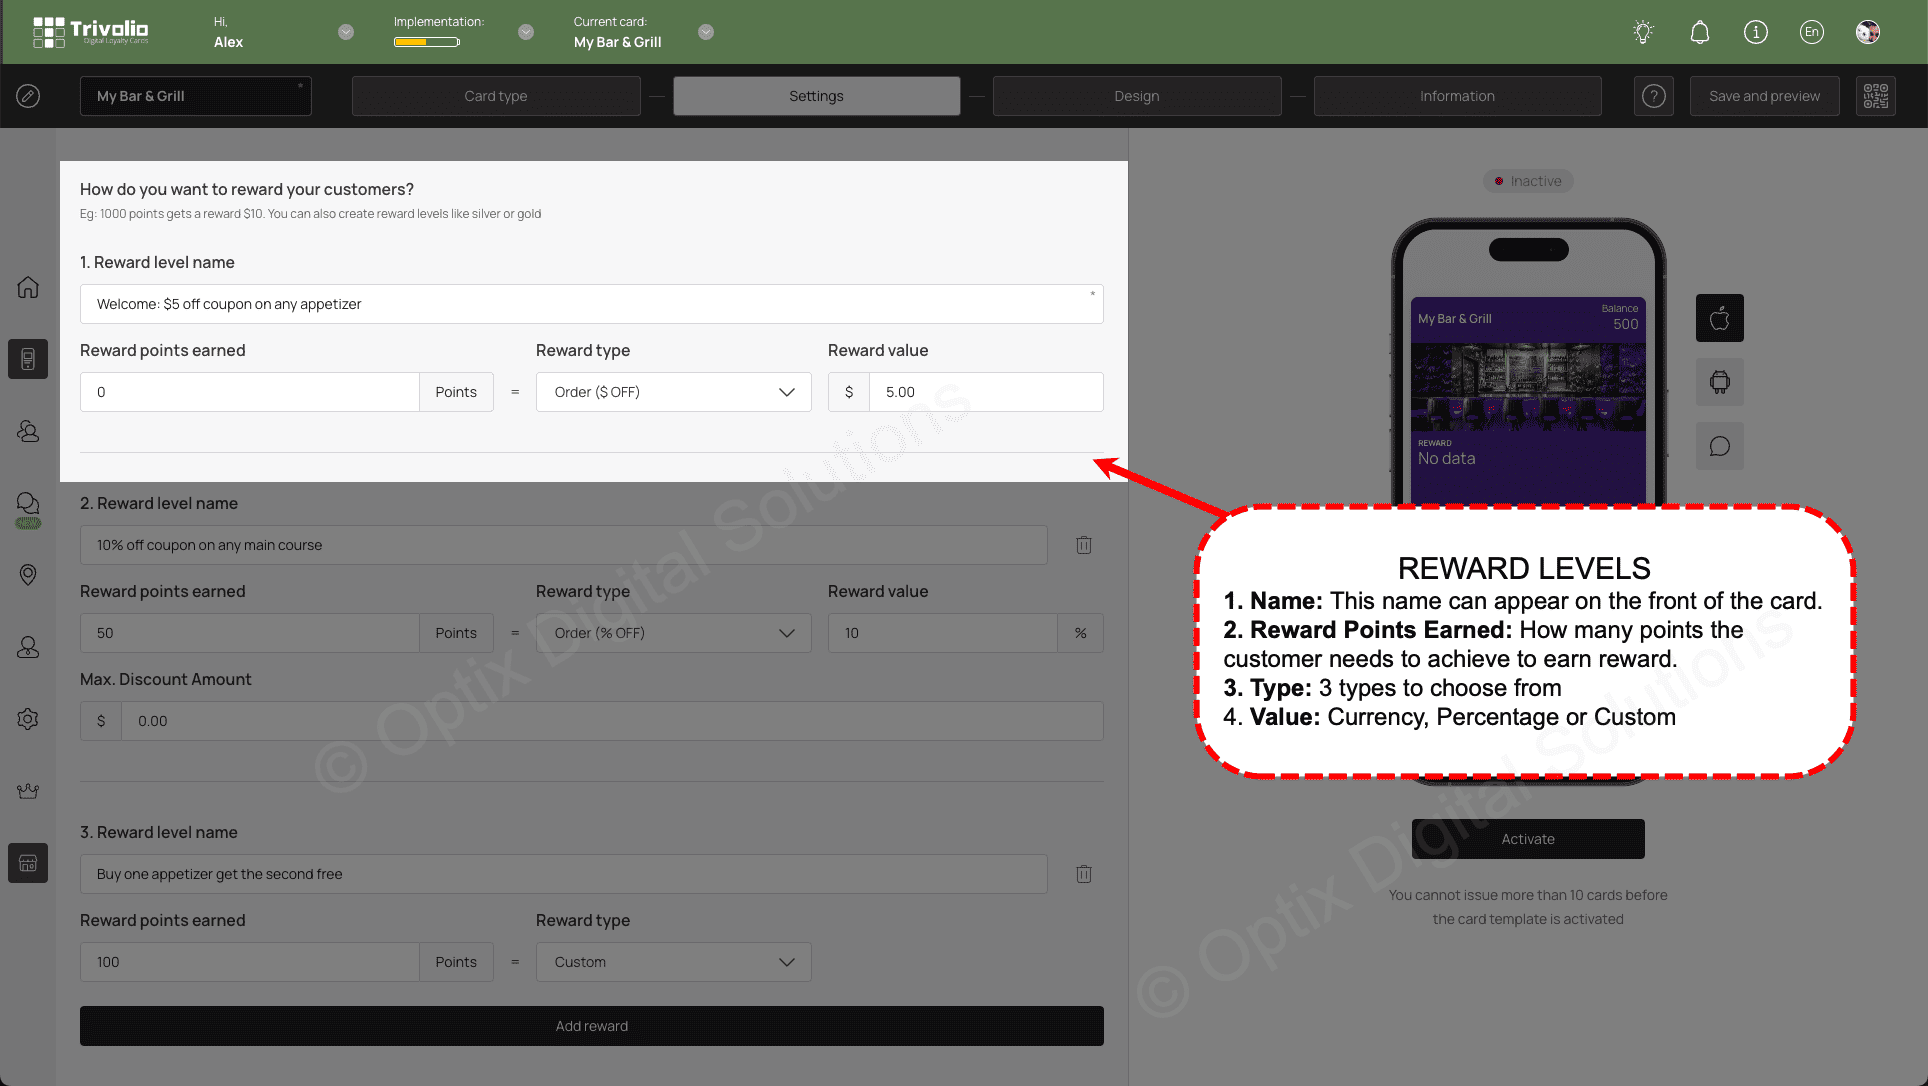
- Define the tier levels for the rewards you are offering. As customers collect points when they make purchases they can qualify to earn rewards when they reach the associated point value . In the example shown below for a bar & grill, we set up 3 rewards:
- $5 off coupon on any appetizer - This is a welcome reward which they earn as soon as they install the card
- 10% off any main course - If the customer collects 50 points they earned this reward
- Buy one appetizer, get the second free - if the customer collects 100 points.
How many points the customer earns with each purchase is up to the store/establishment owner.
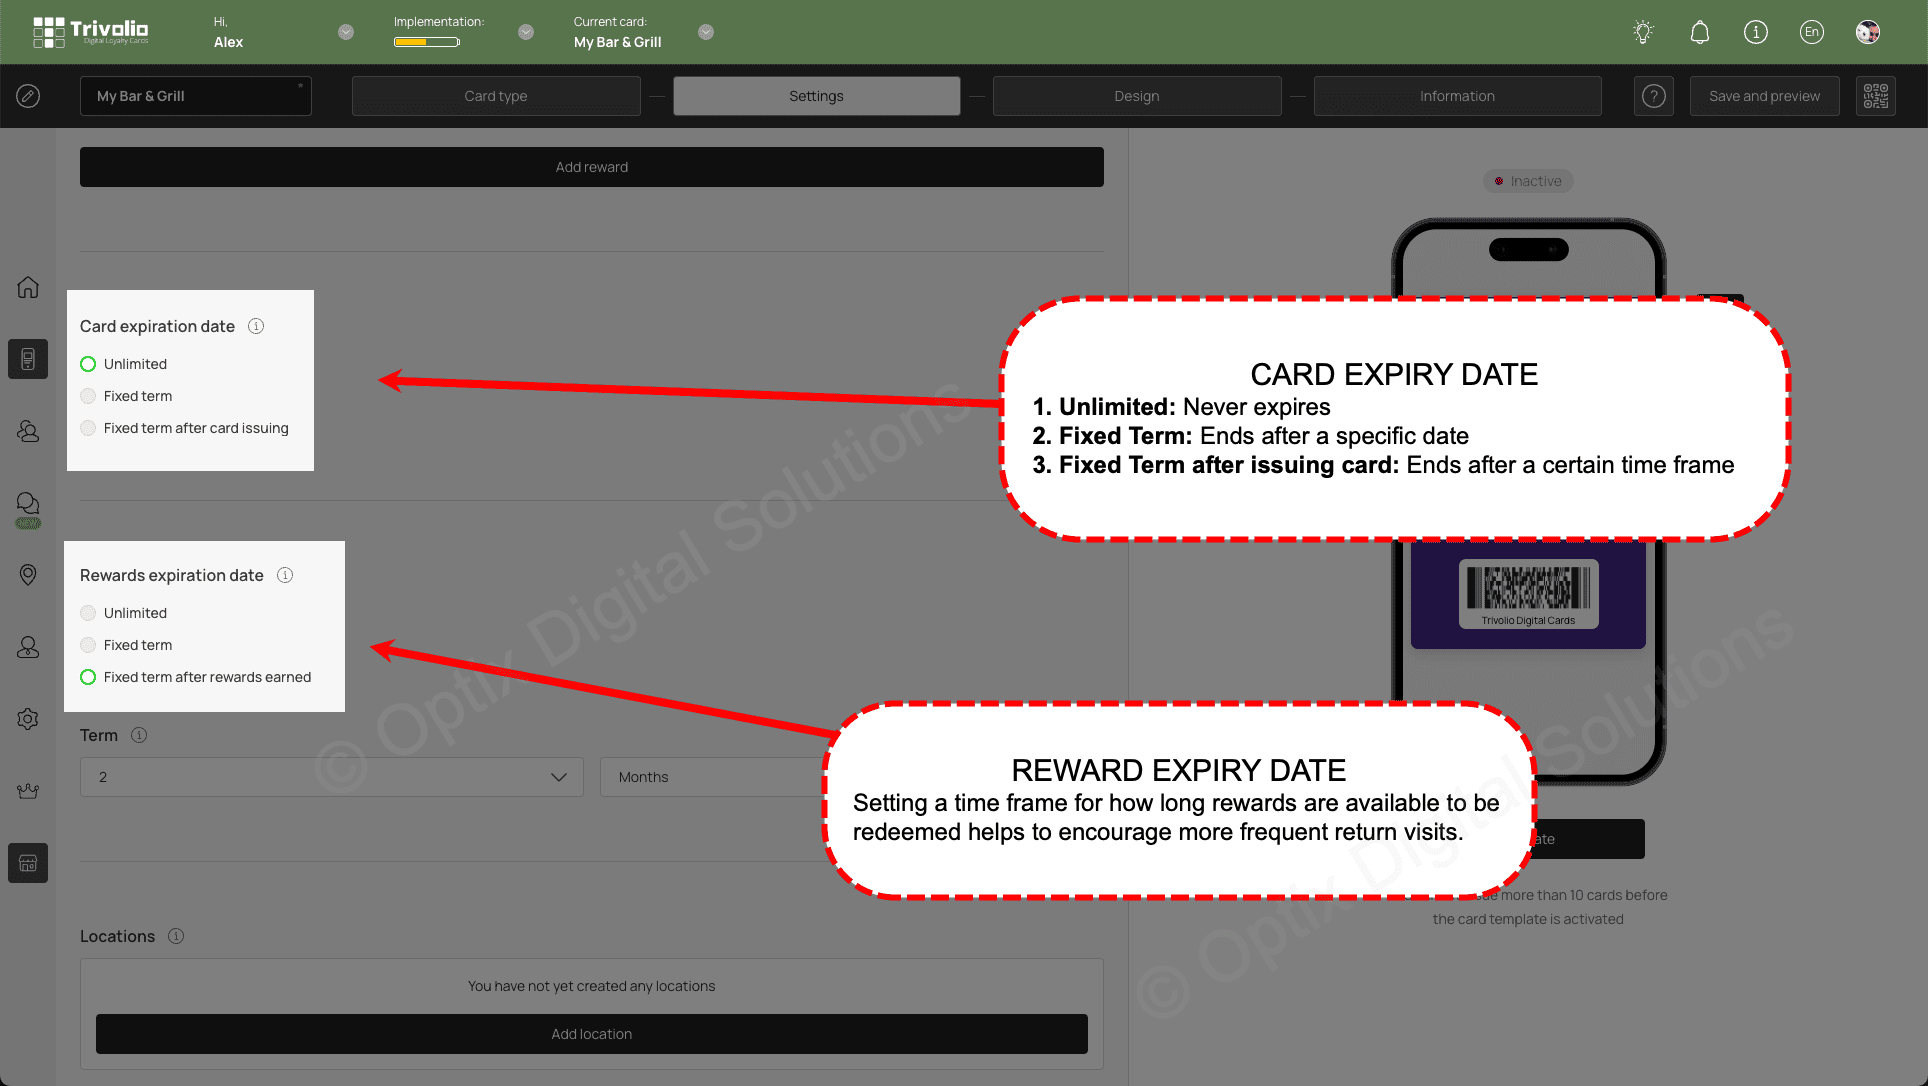
- Determine the expiry date of the card and of the rewards.
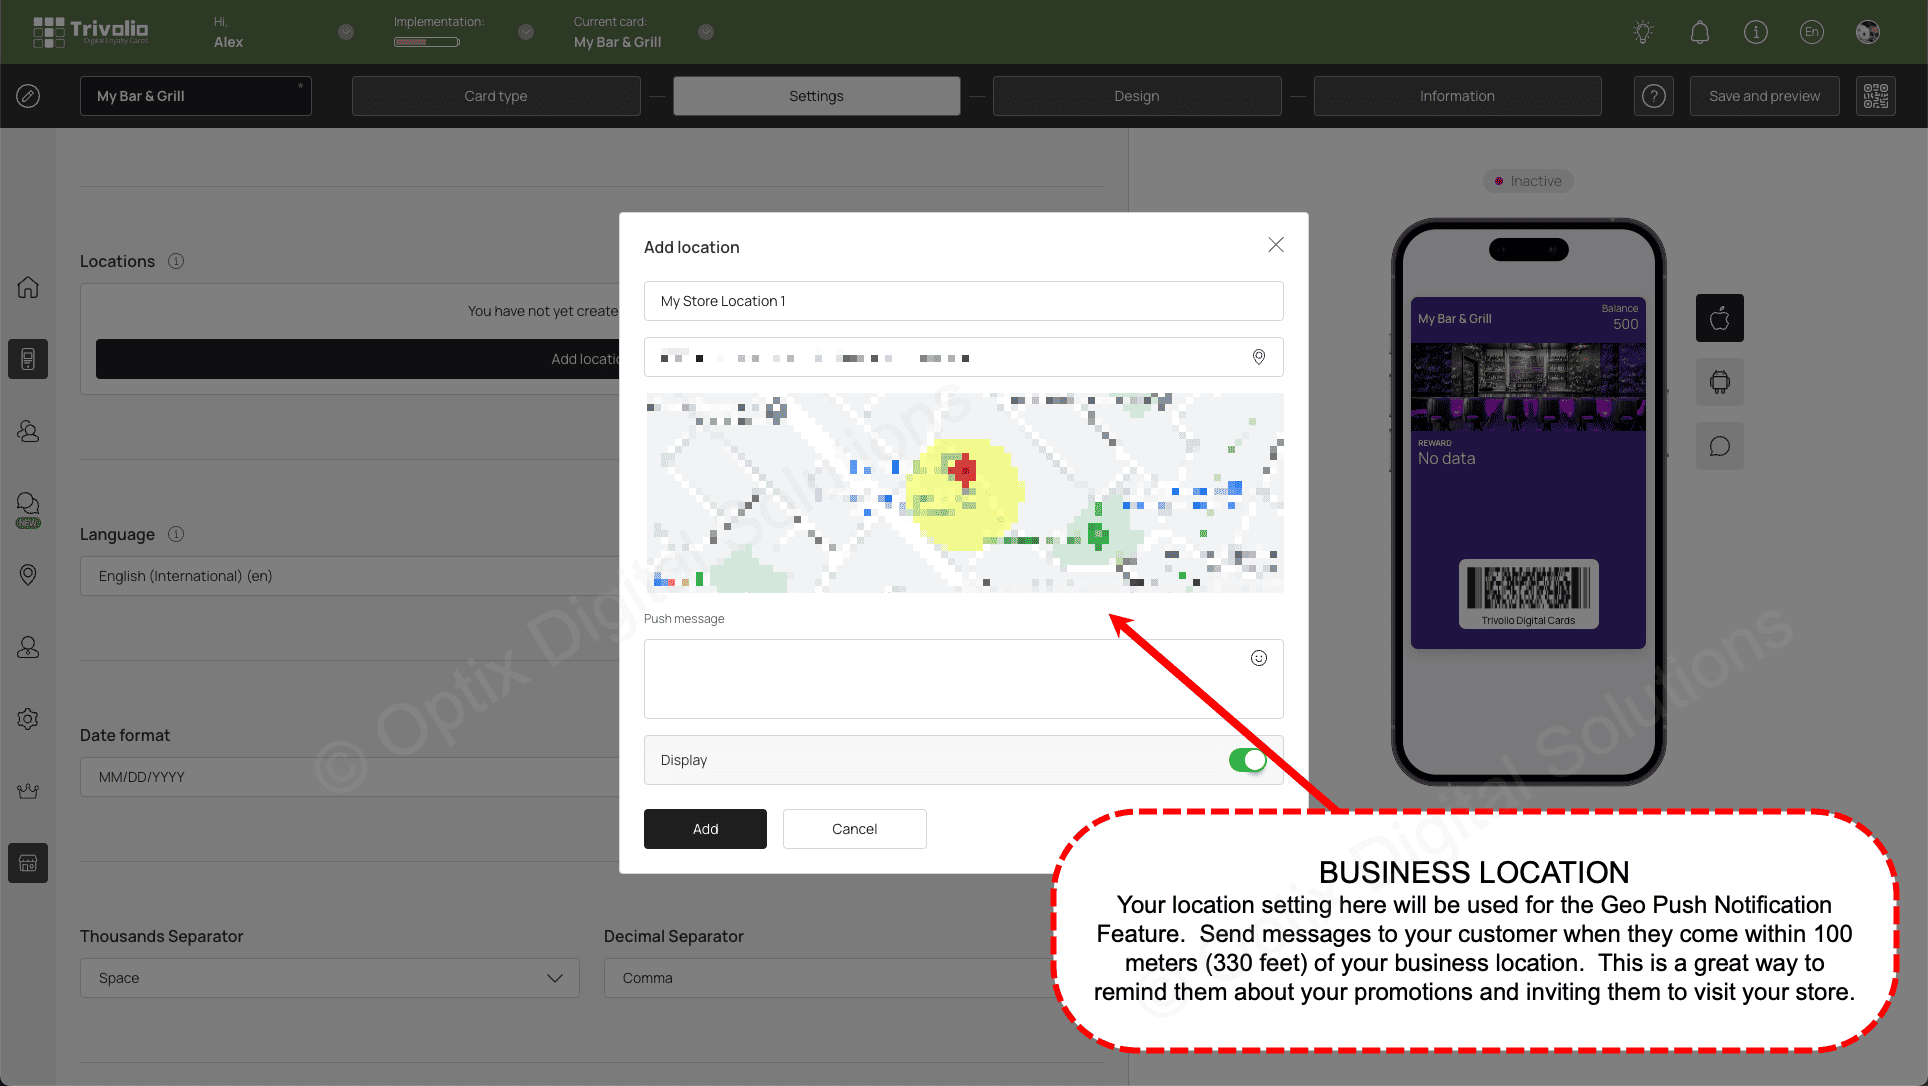
- Add your business location to utilize the geo-push notification feature of the card.
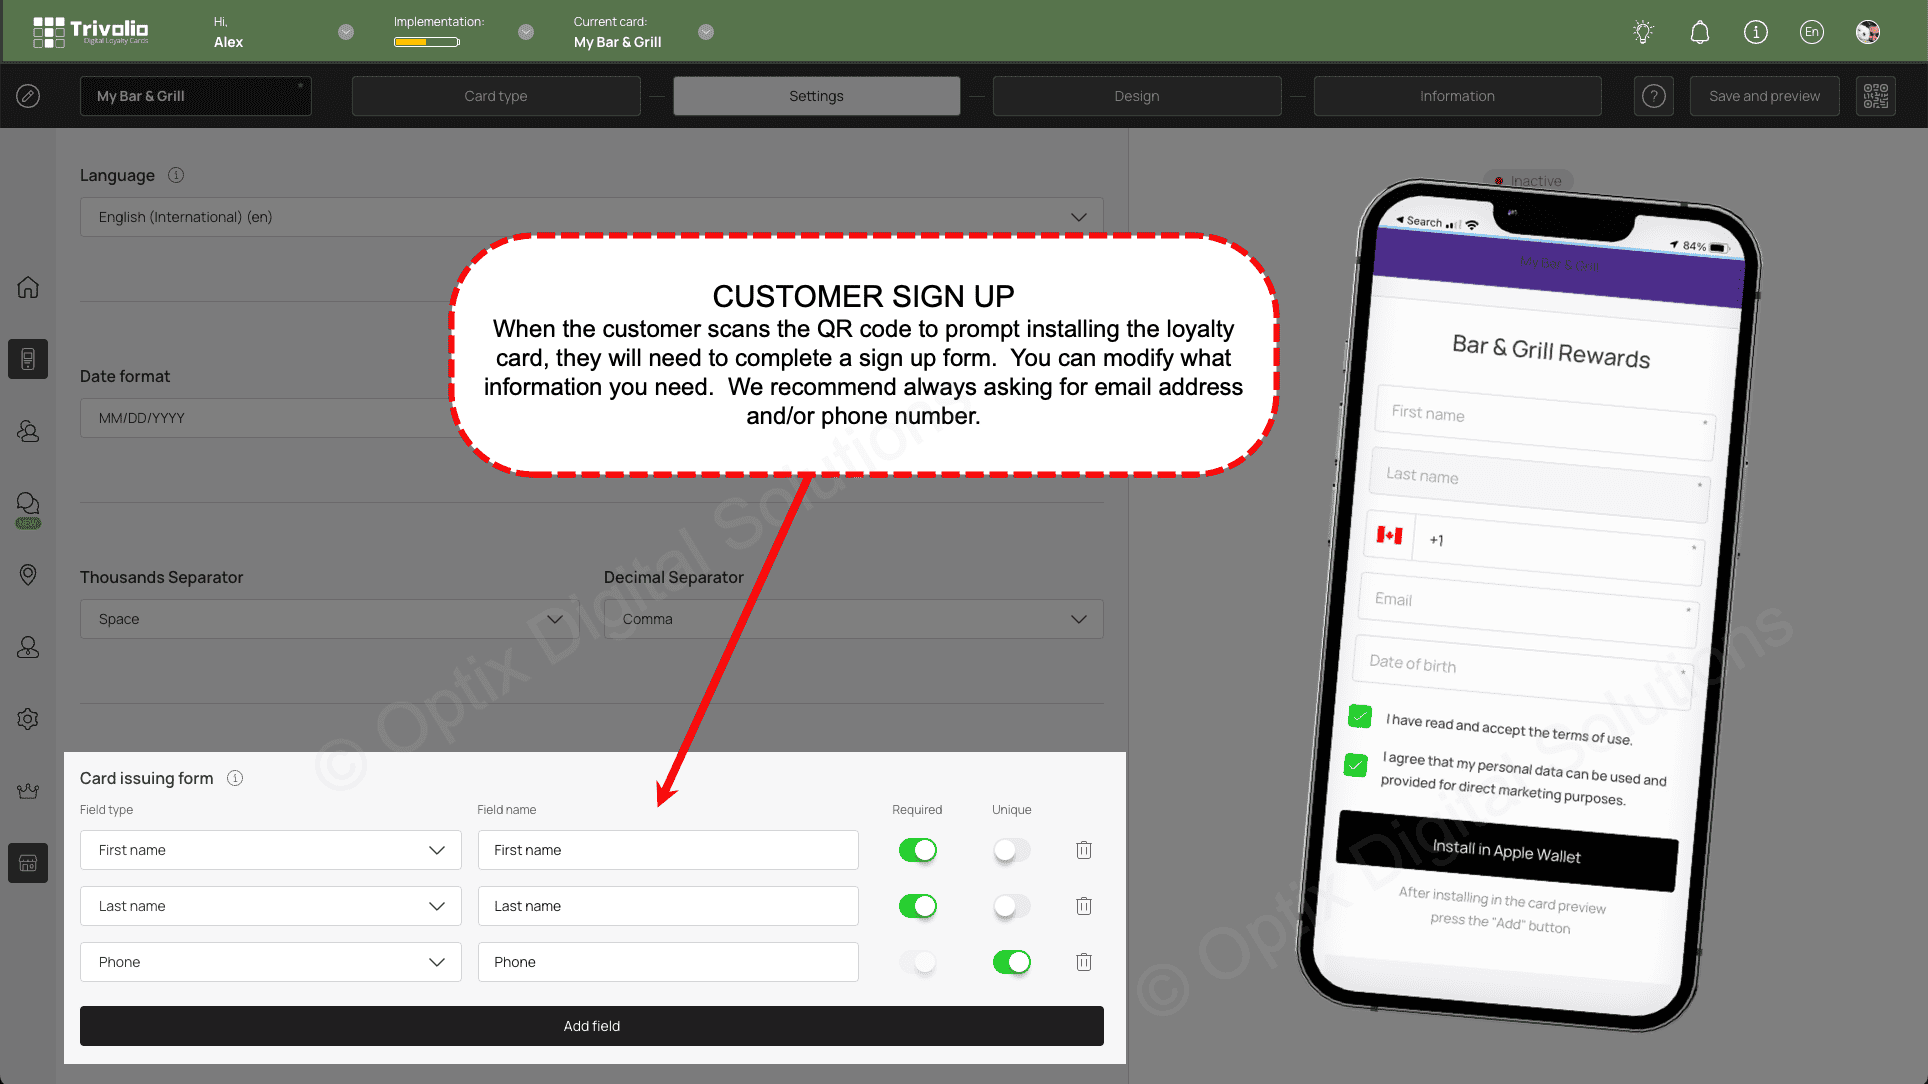
- Determine what information you want to ask customers on the card sign up form. Either phone or email is required to properly manage the customers activity.
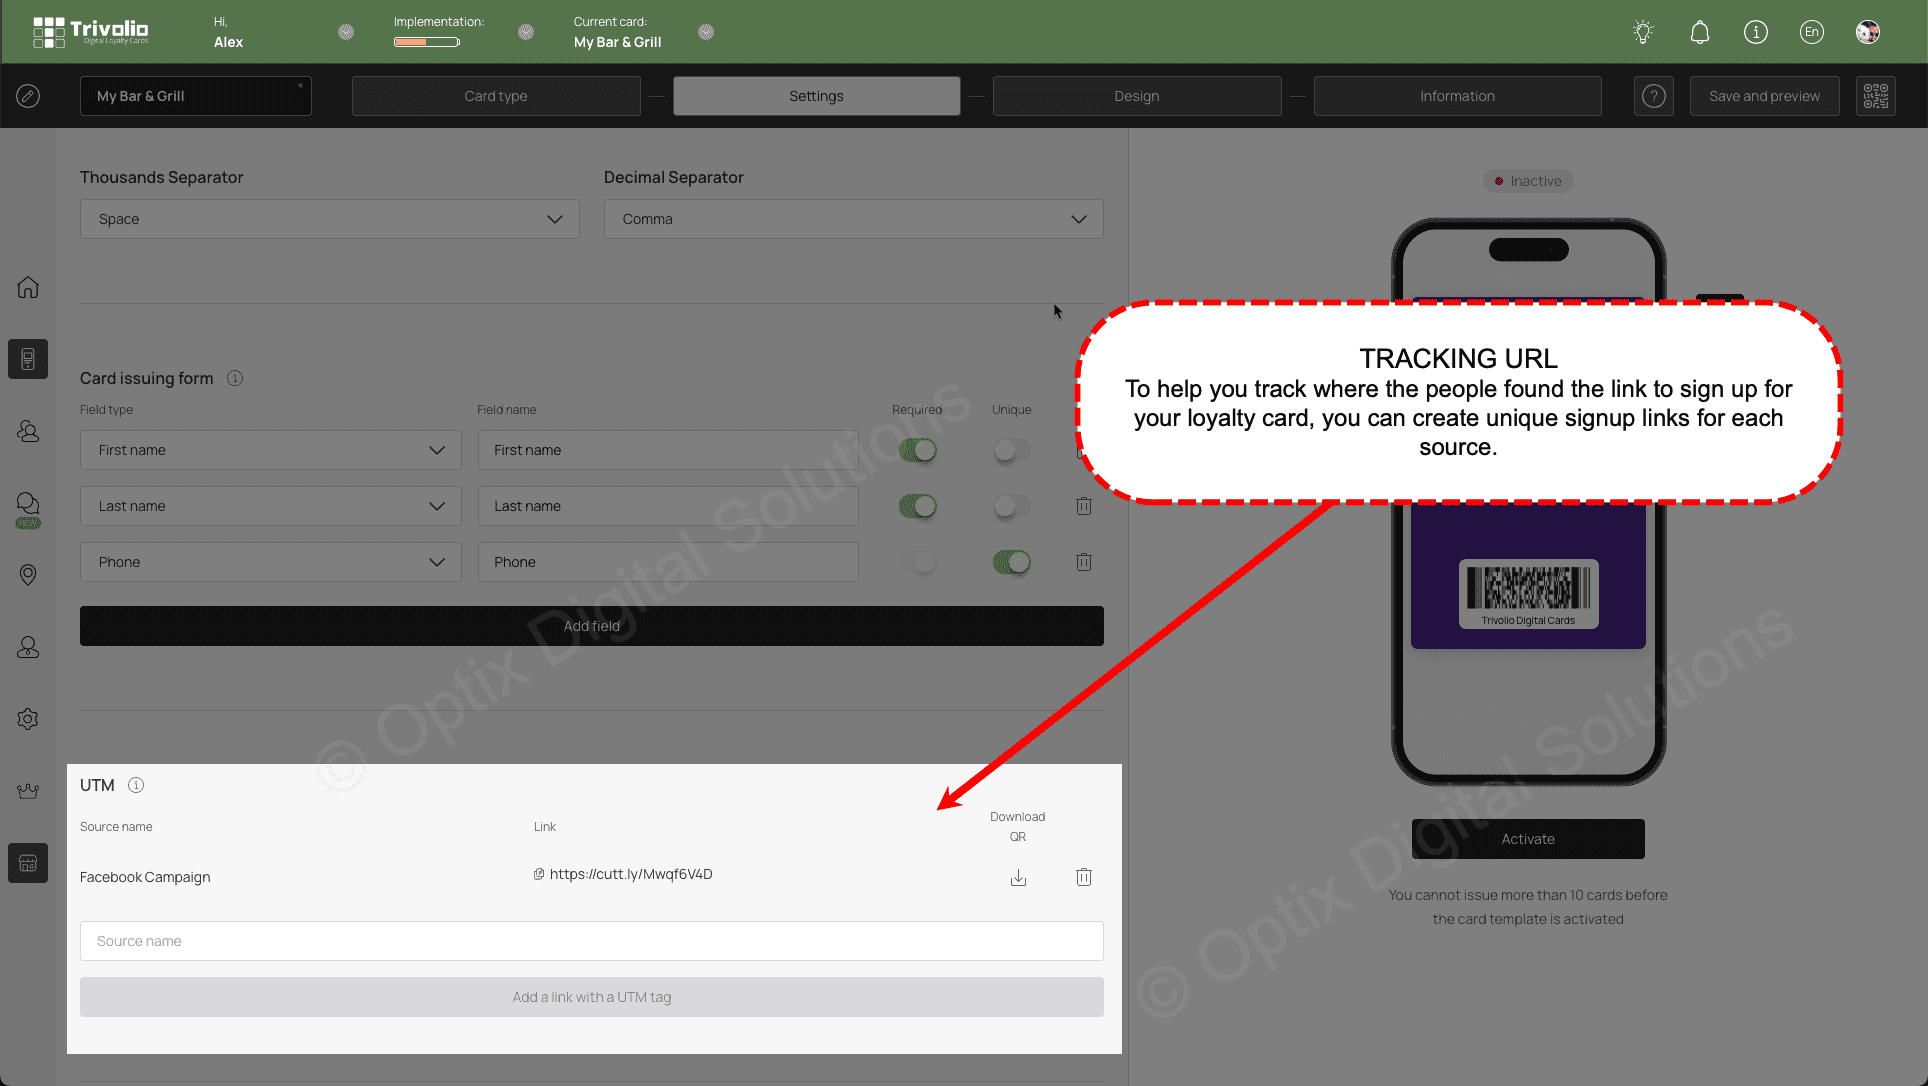
- [OPTIONAL] To help track where your customers are signing up for your loyalty card, you can add unique links from your different sources.
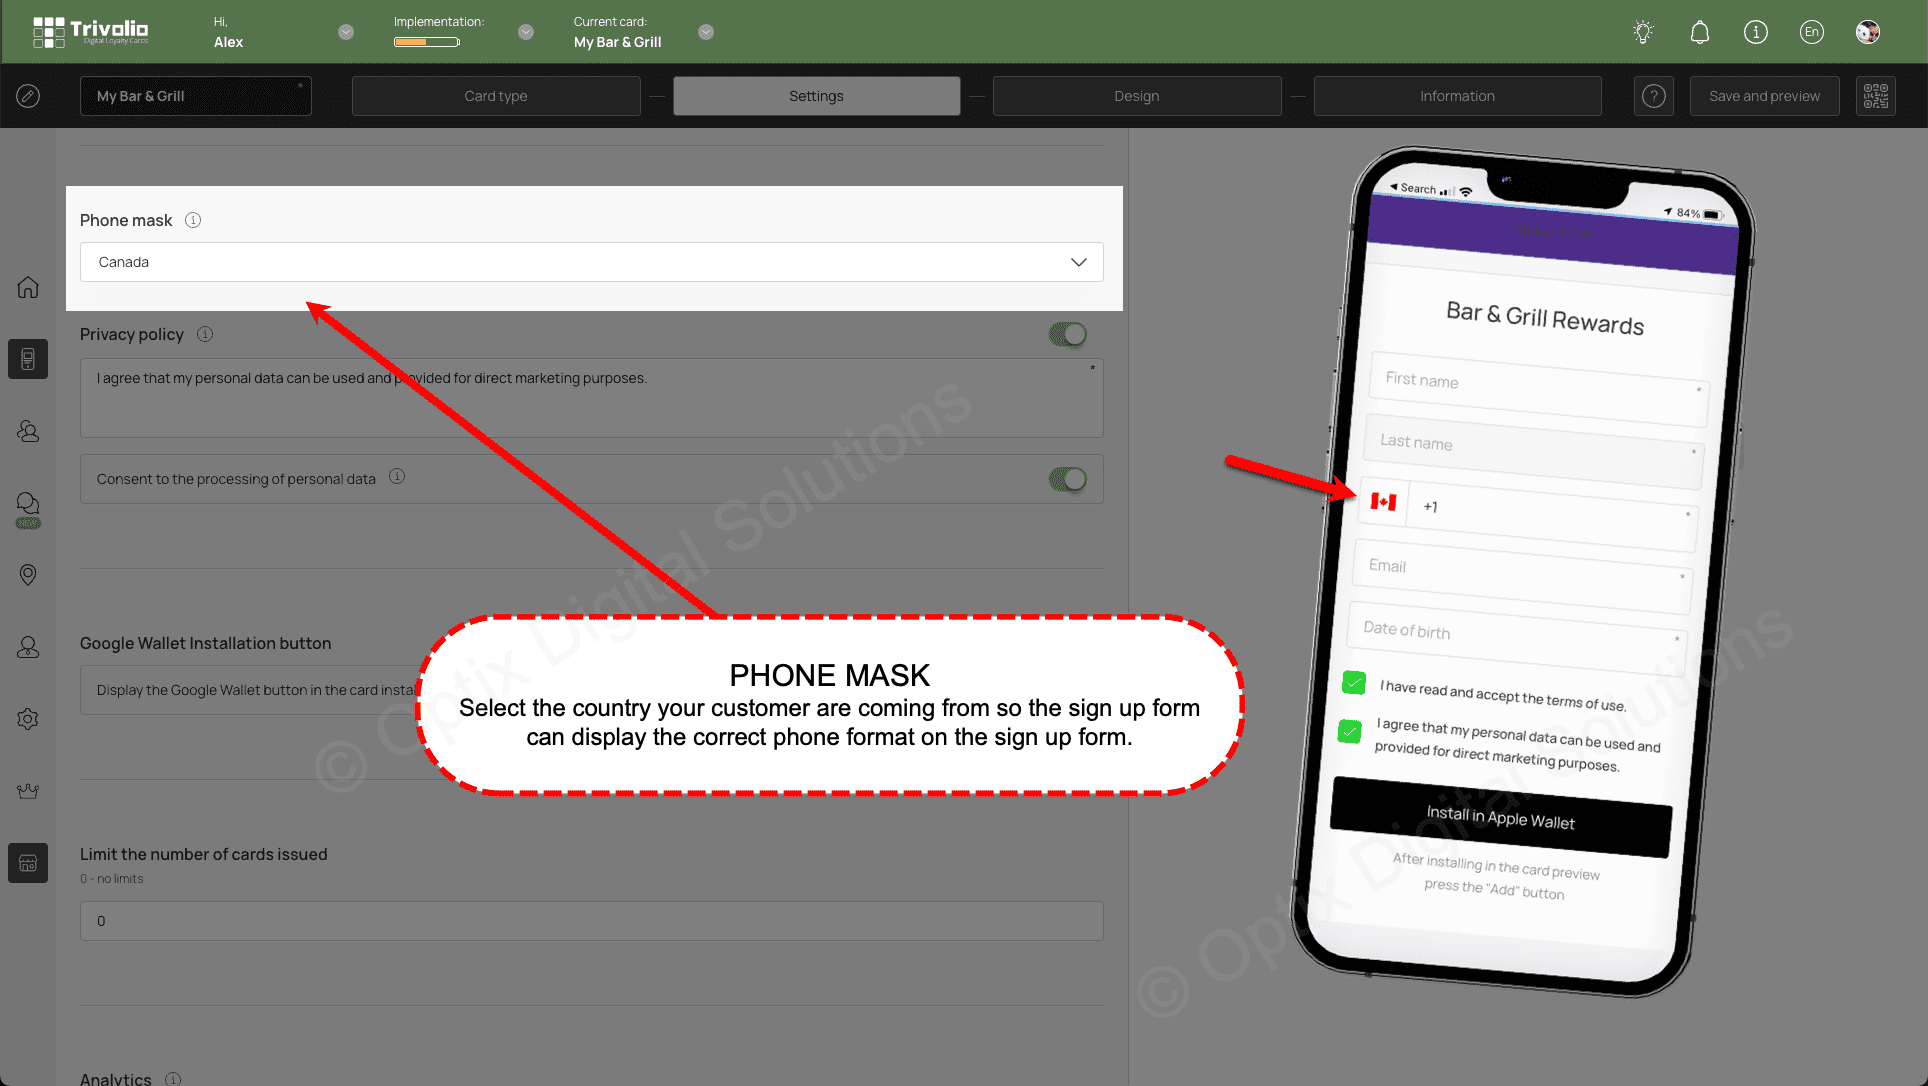
- Add country to set the default phone format on the sign up page.
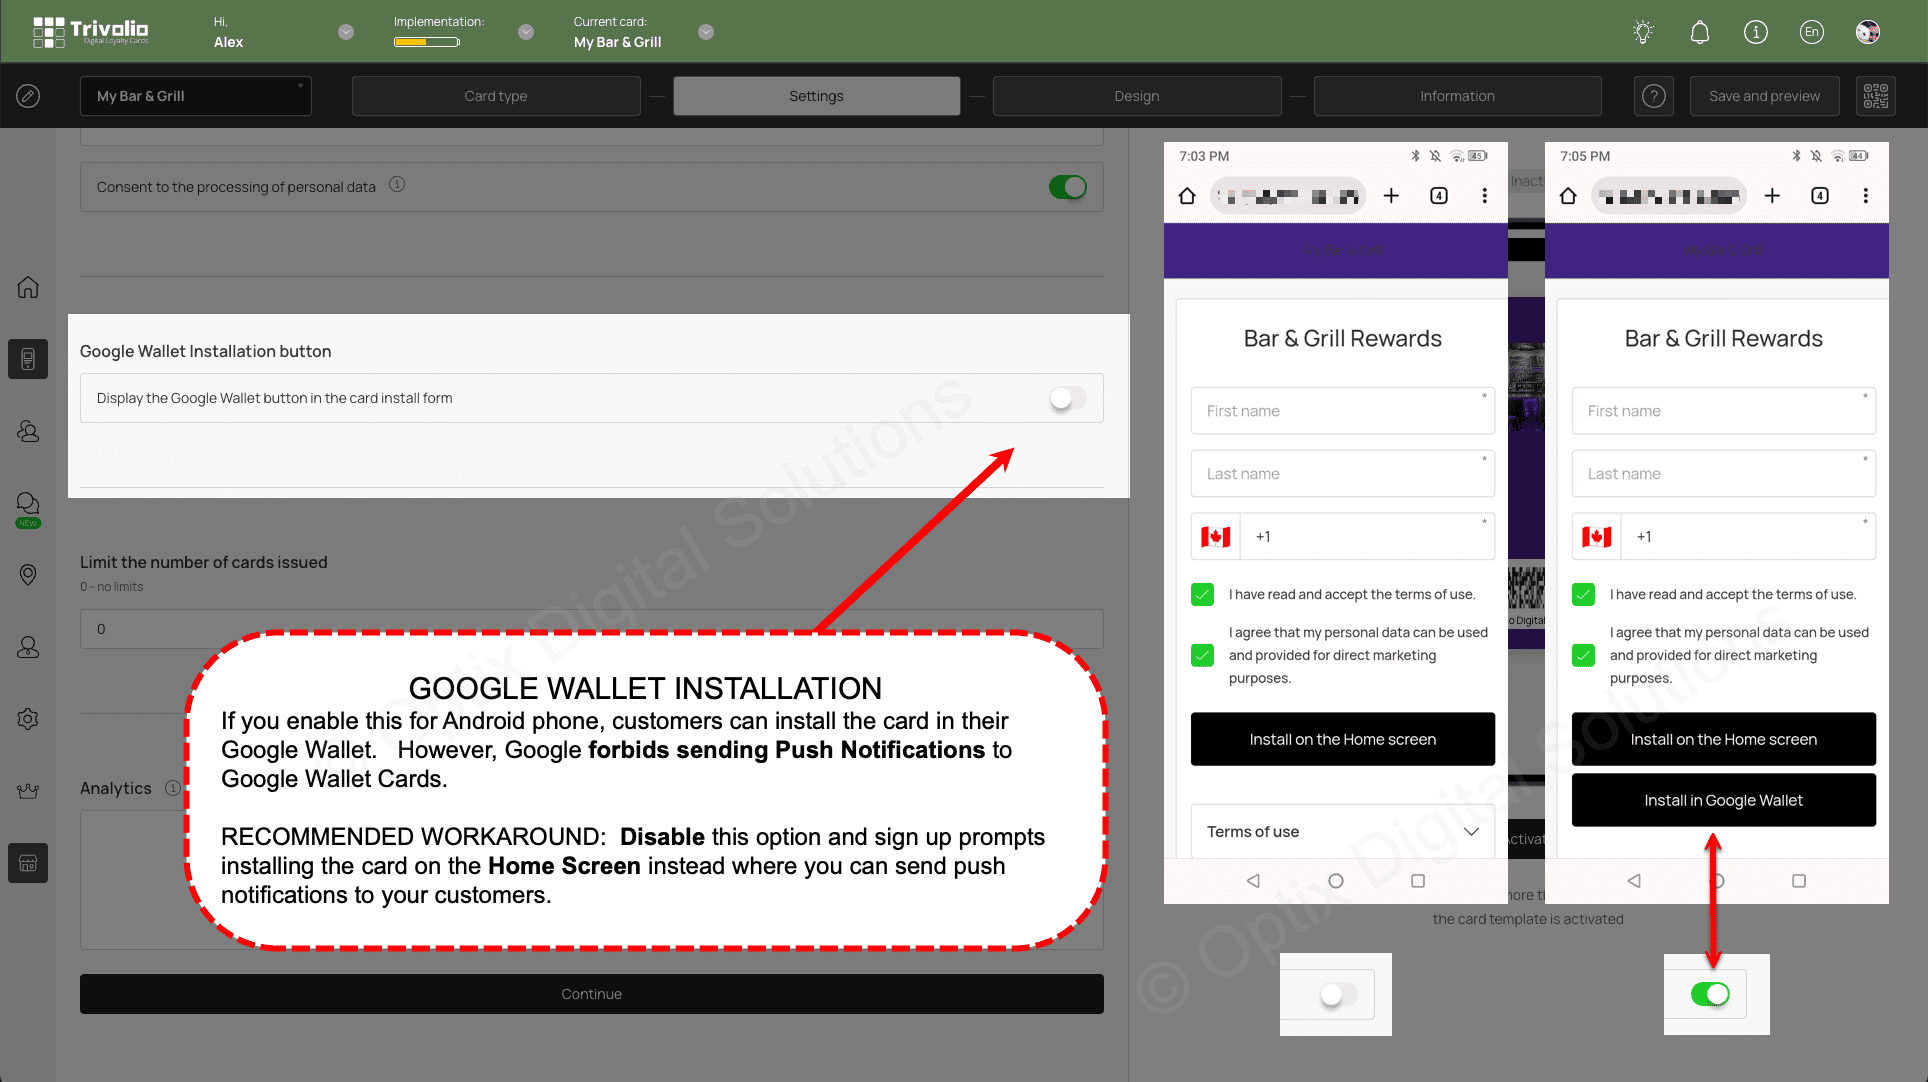
- For customers using Android phones you have the option to allow them to install the card in their Google Wallet similar to how iPhone users do.
The drawback to installing the card in a Google Wallet is Push Notifications are not permitted by Google. As a workaround Android users can instal your loyalty card as a Progressive Web App (PWA) card. So insteas the card is installed on their Home Screen.
We strongly recommend you DISABLE the Google Wallet Installation button on the sign up page.
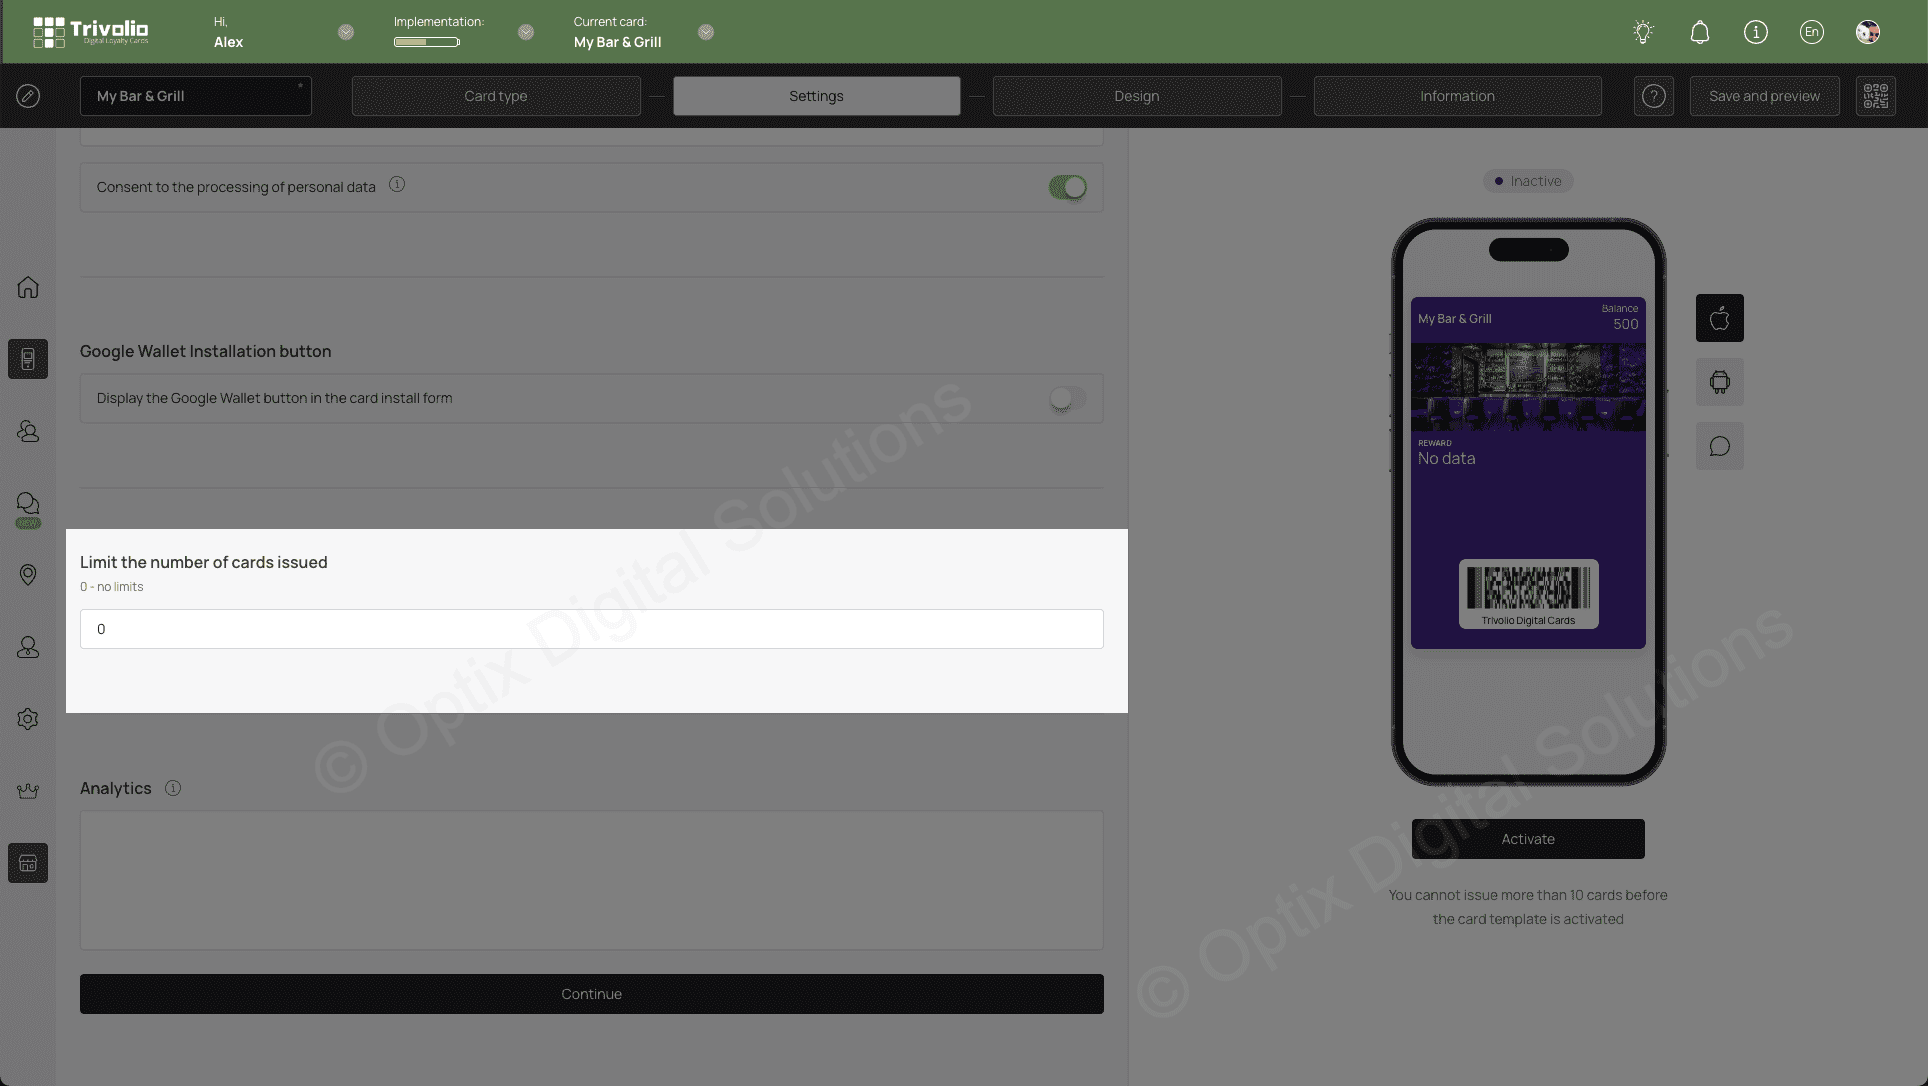
- Limit the number of cards to issue
A fear of missing out strategy ans increase urgency you can be to limit how many rewards card you can issue to potential customers.
DESIGN
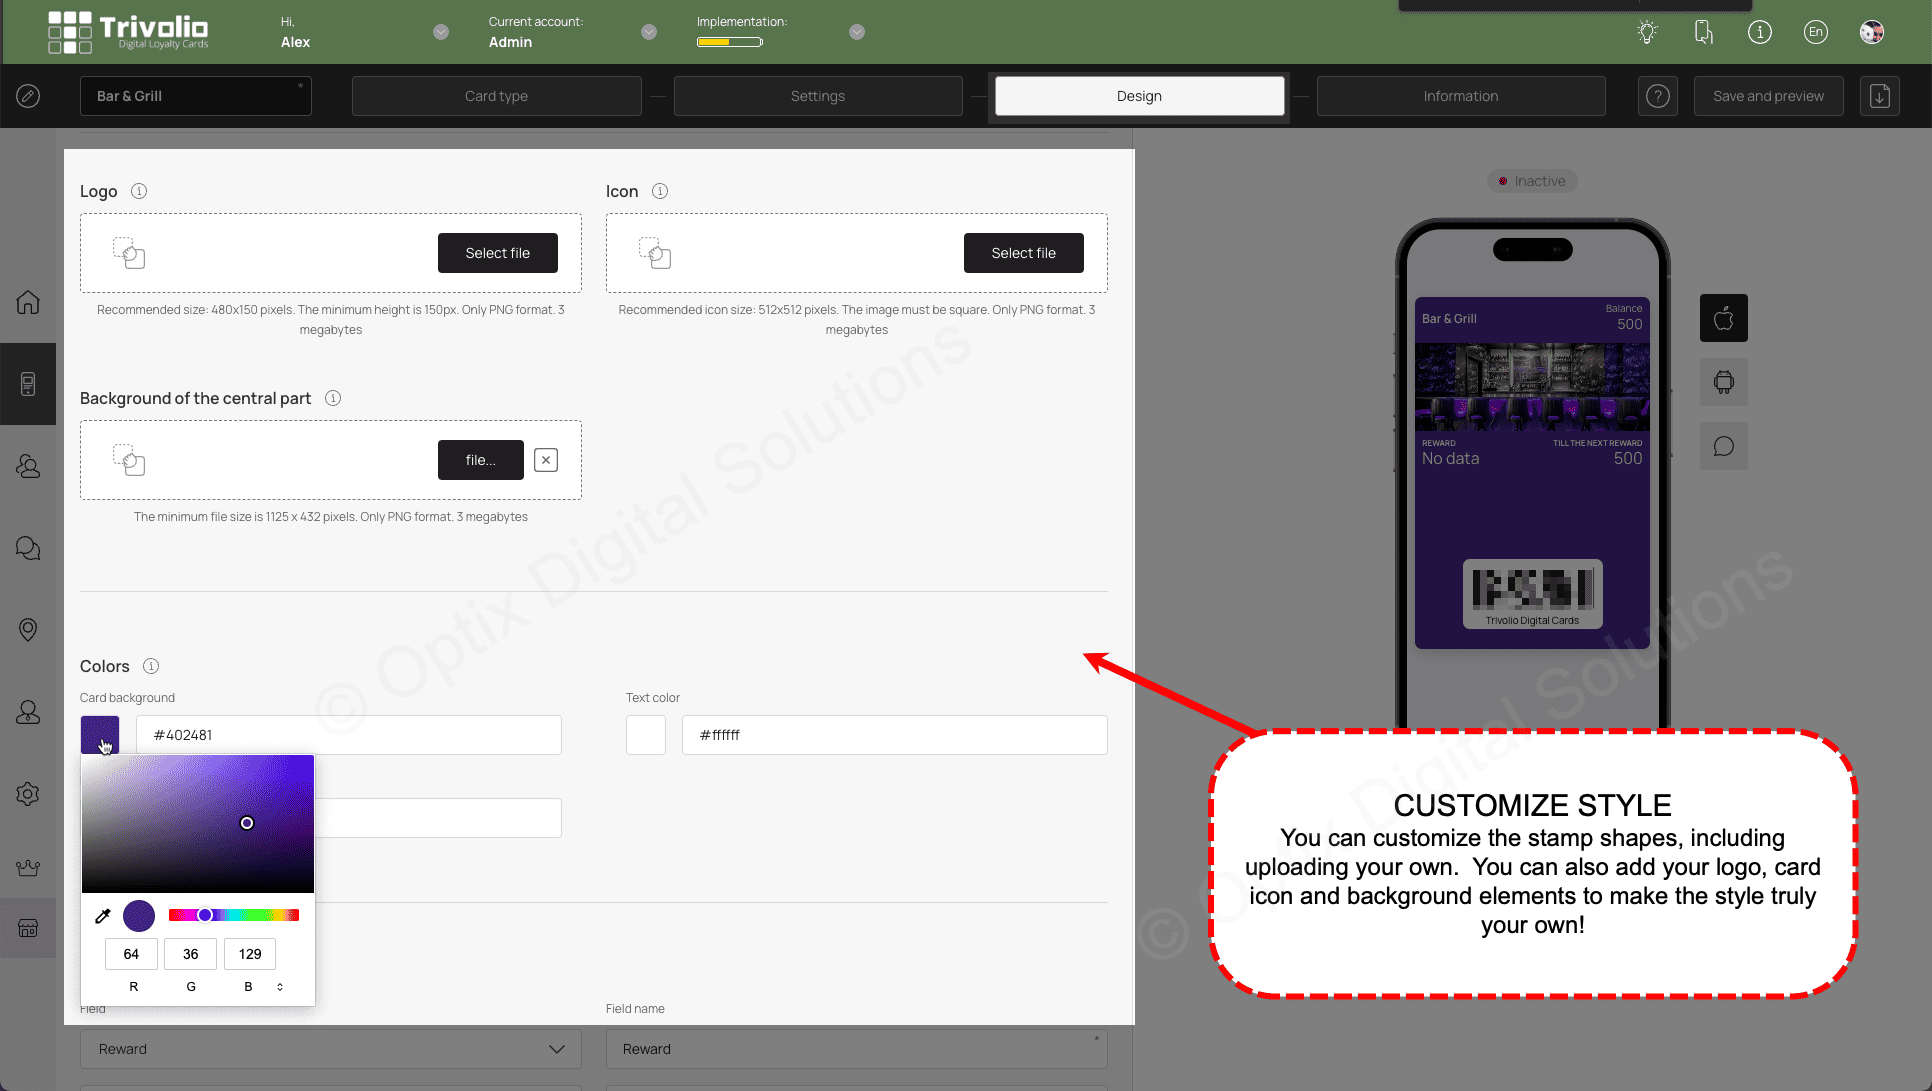
- Customize the look of the card by add the provided stamp icons or upload your own. You can also select colours and upload your own logo to help brand the card to your liking.
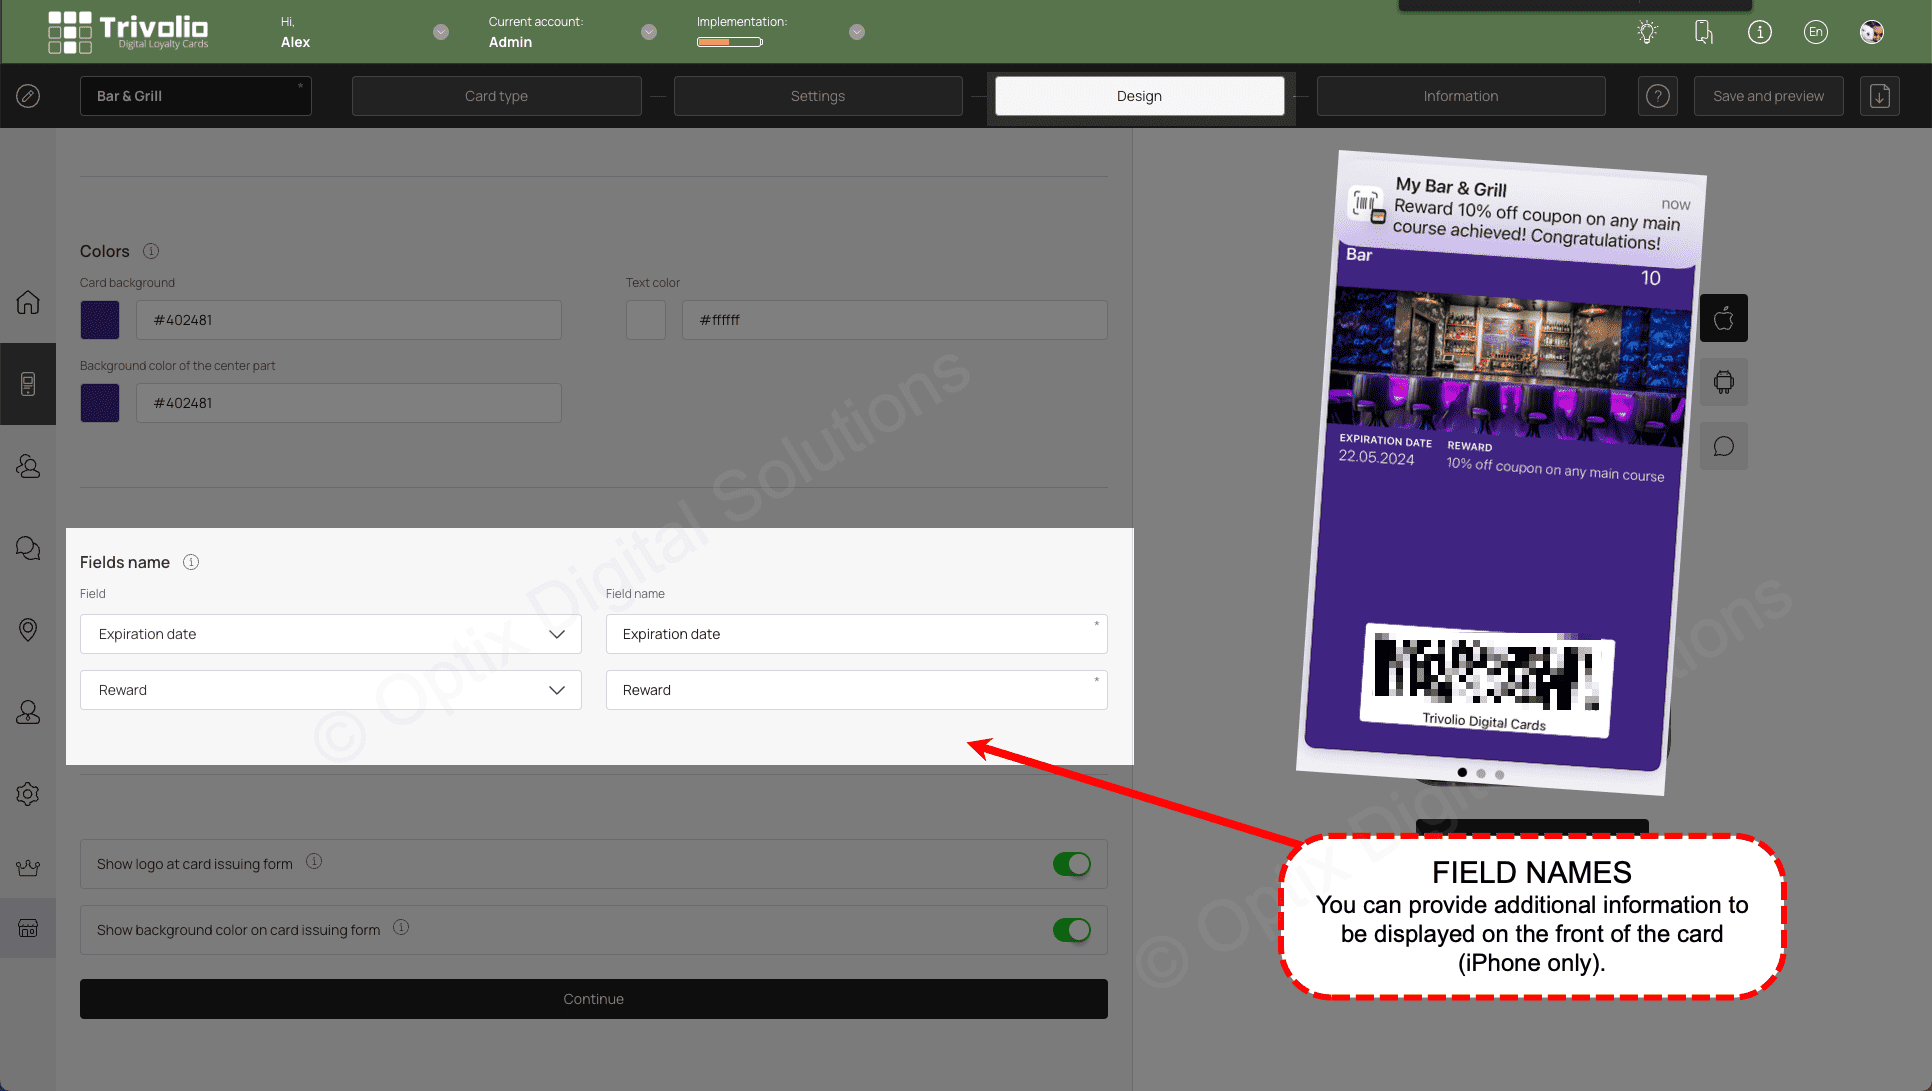
- Select and label the card status information on the front of the card.
This information appears on the front of the card. Besides the fields you configured in the sign up page (eg. name, phone, etc) you have three other options specific to this card type:
- Expiration date - The card expiration date
- Till the next reward - Points needed to get to the next reward tier
- Reward - Name of reward
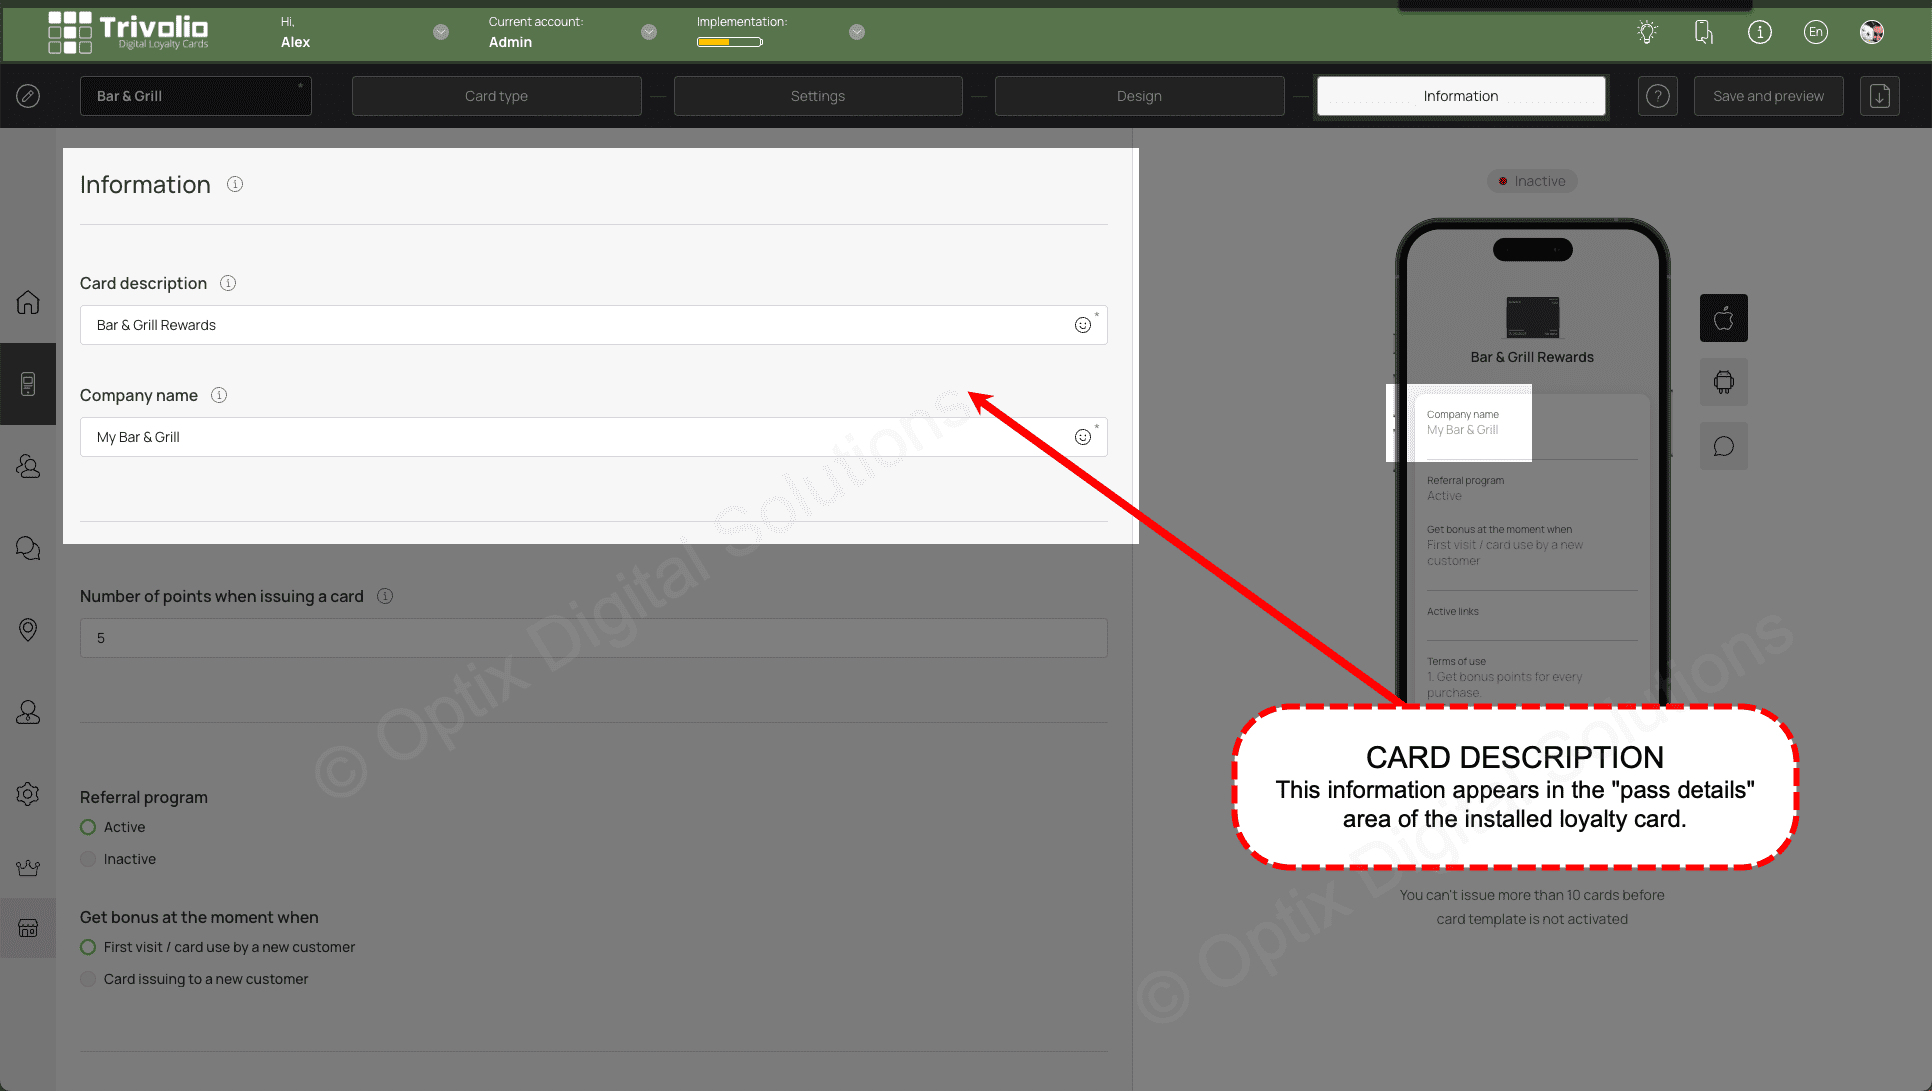
INFORMATION
- Add the appropriate information that appears on the card information section for customers to see.
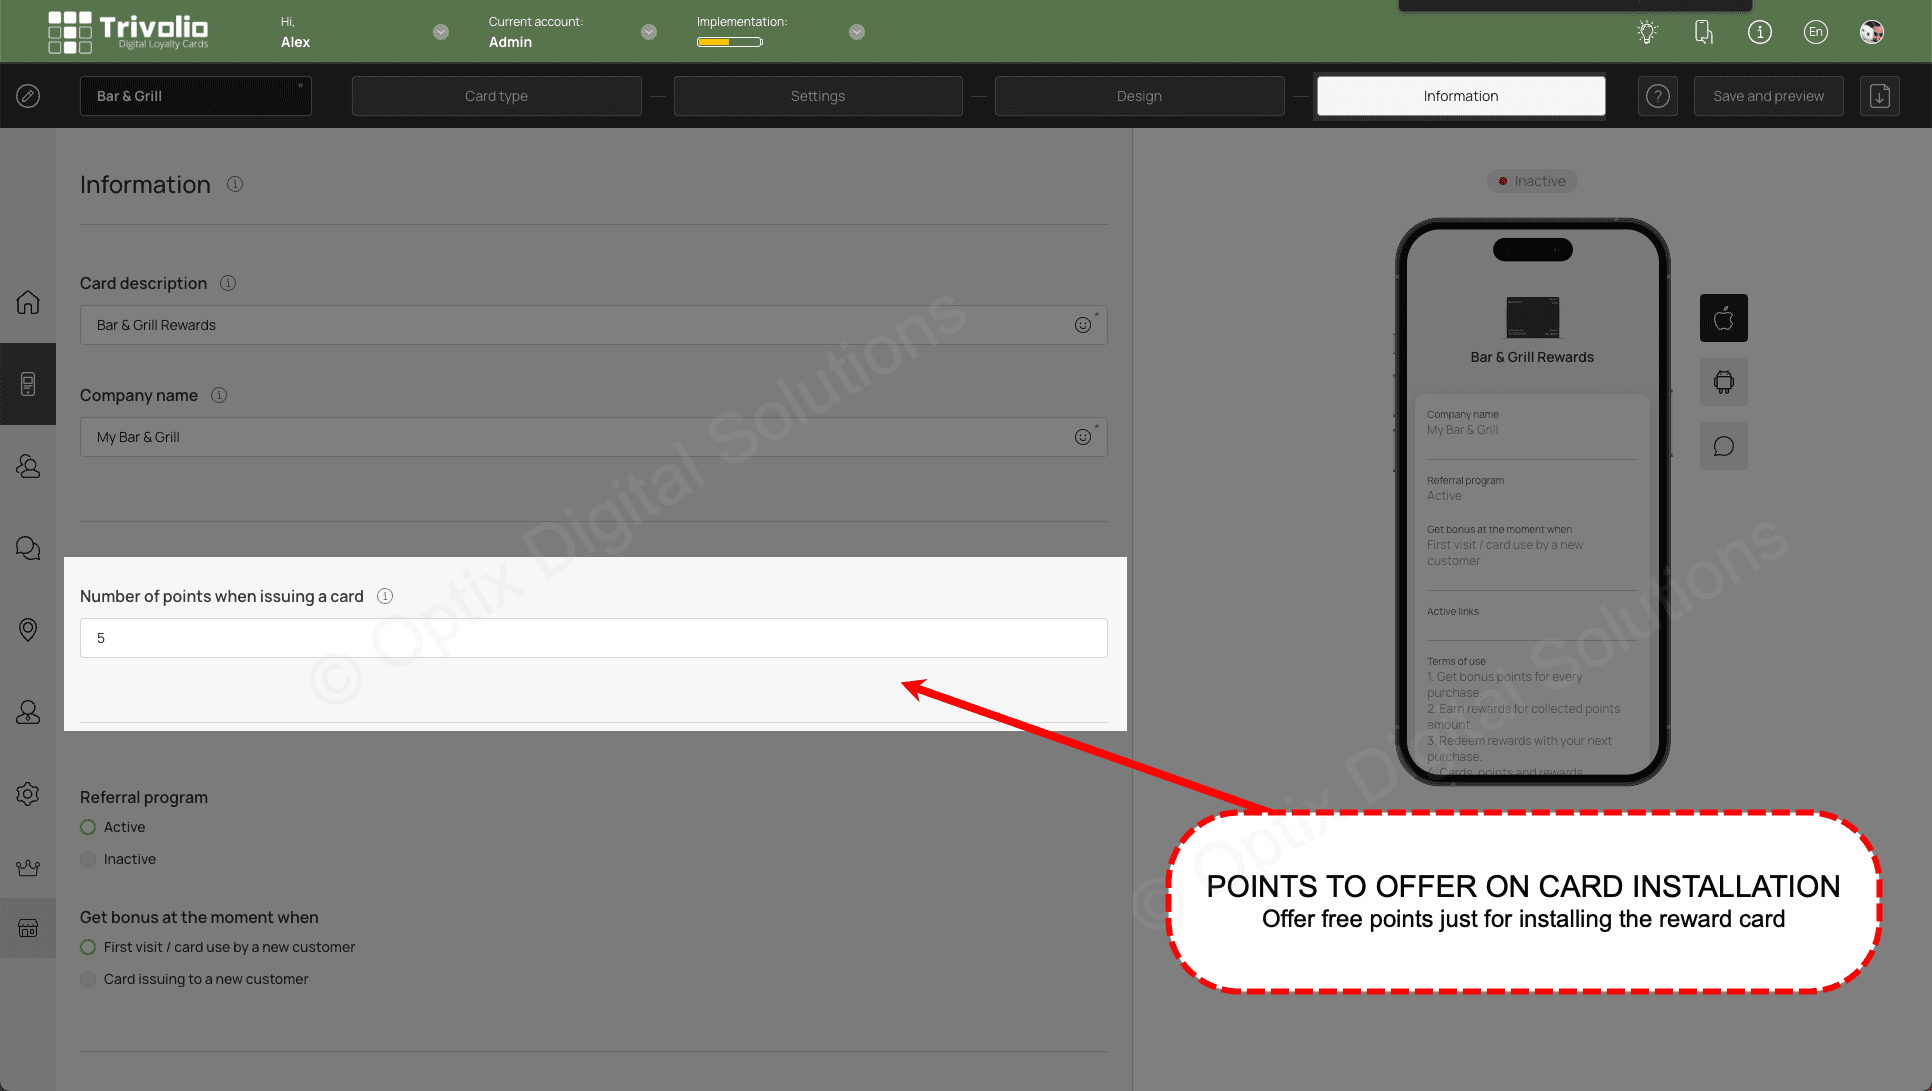
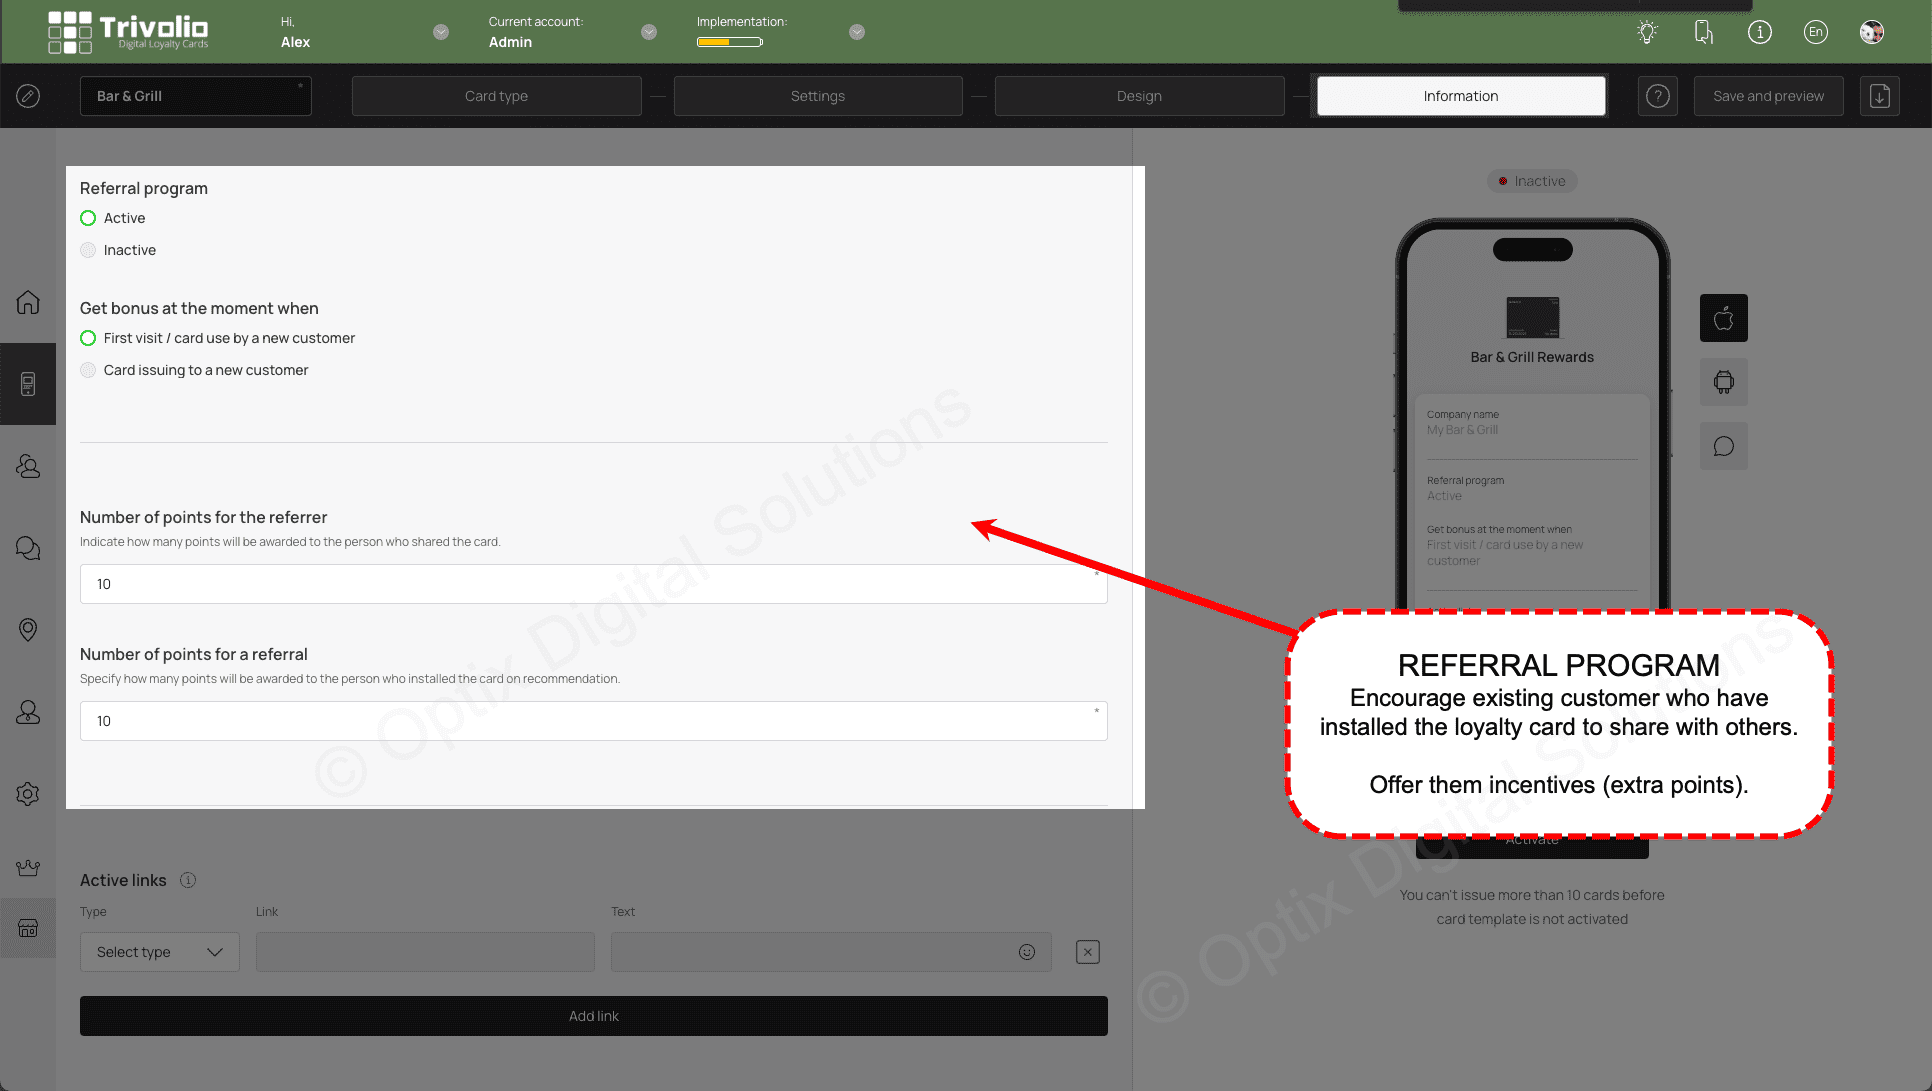
- Indicate how many points the customer has earned just for signing up.
- [OPTIONAL] Enable a referral program to encourage customers who have installed the loyalty card to share it with a friend. This is a great and free way to increase program enrollment!
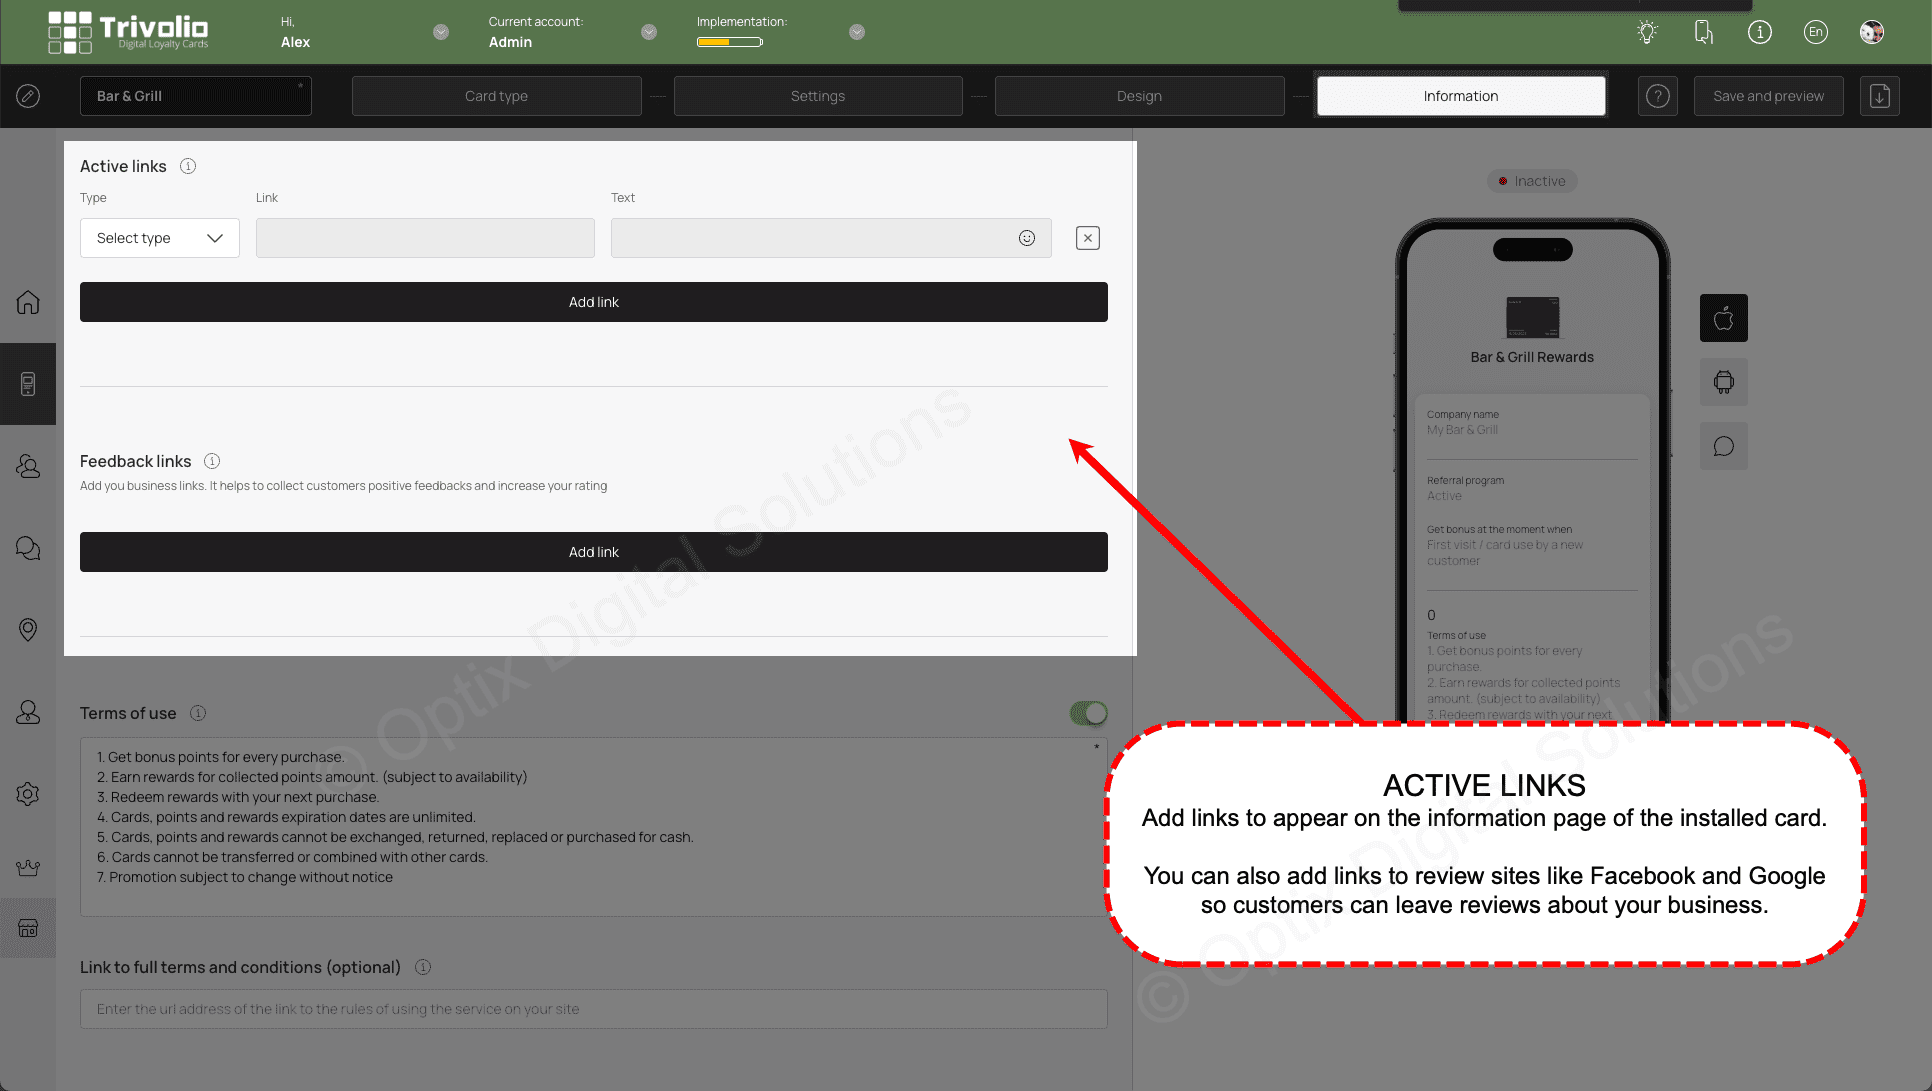
- [OPTIONAL] Add links to the card information page, such as your business website. You can also add links to review platforms (eg. Google, Facebook, Yelp)
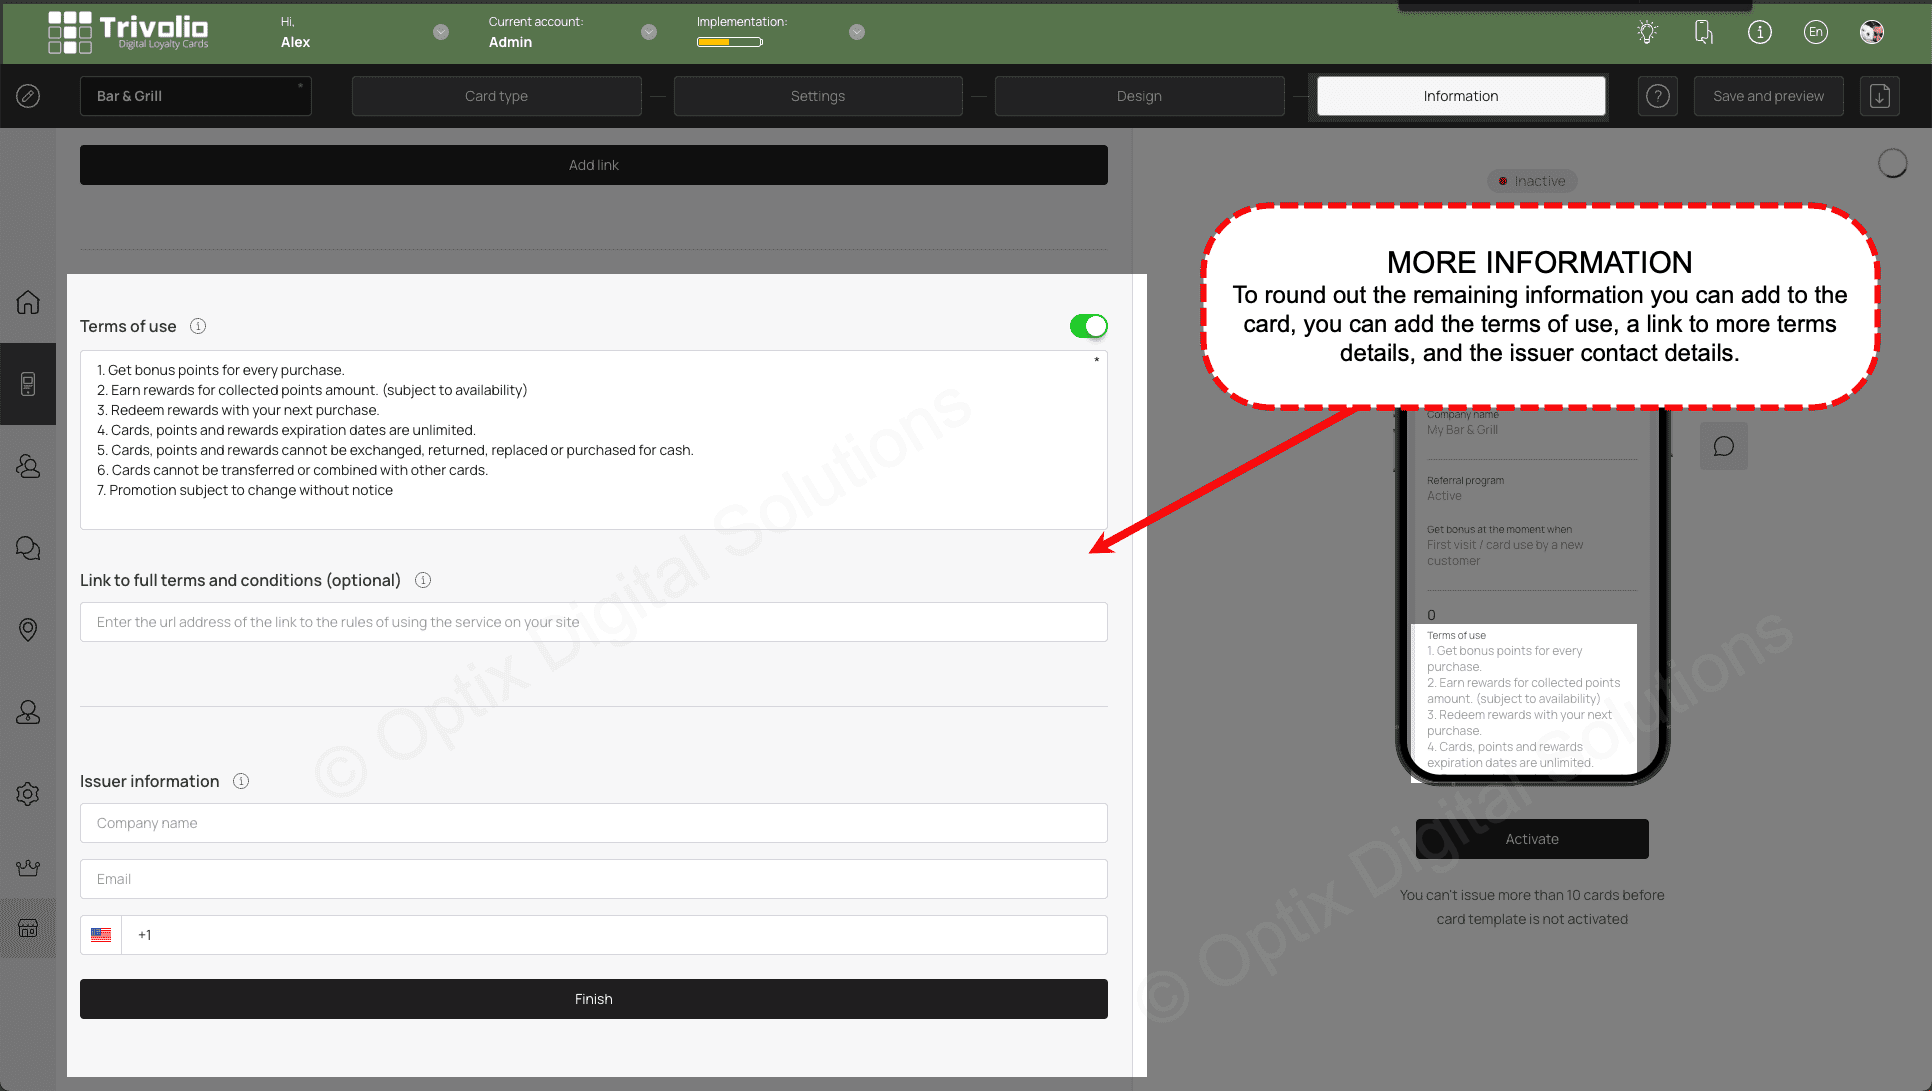
- Complete the information form to include the loyalty program terms and conditions, appropriate URLs and your contact information
FINISH
- Once you are finished, a pop up appears with the QR code and link to share to your customers.
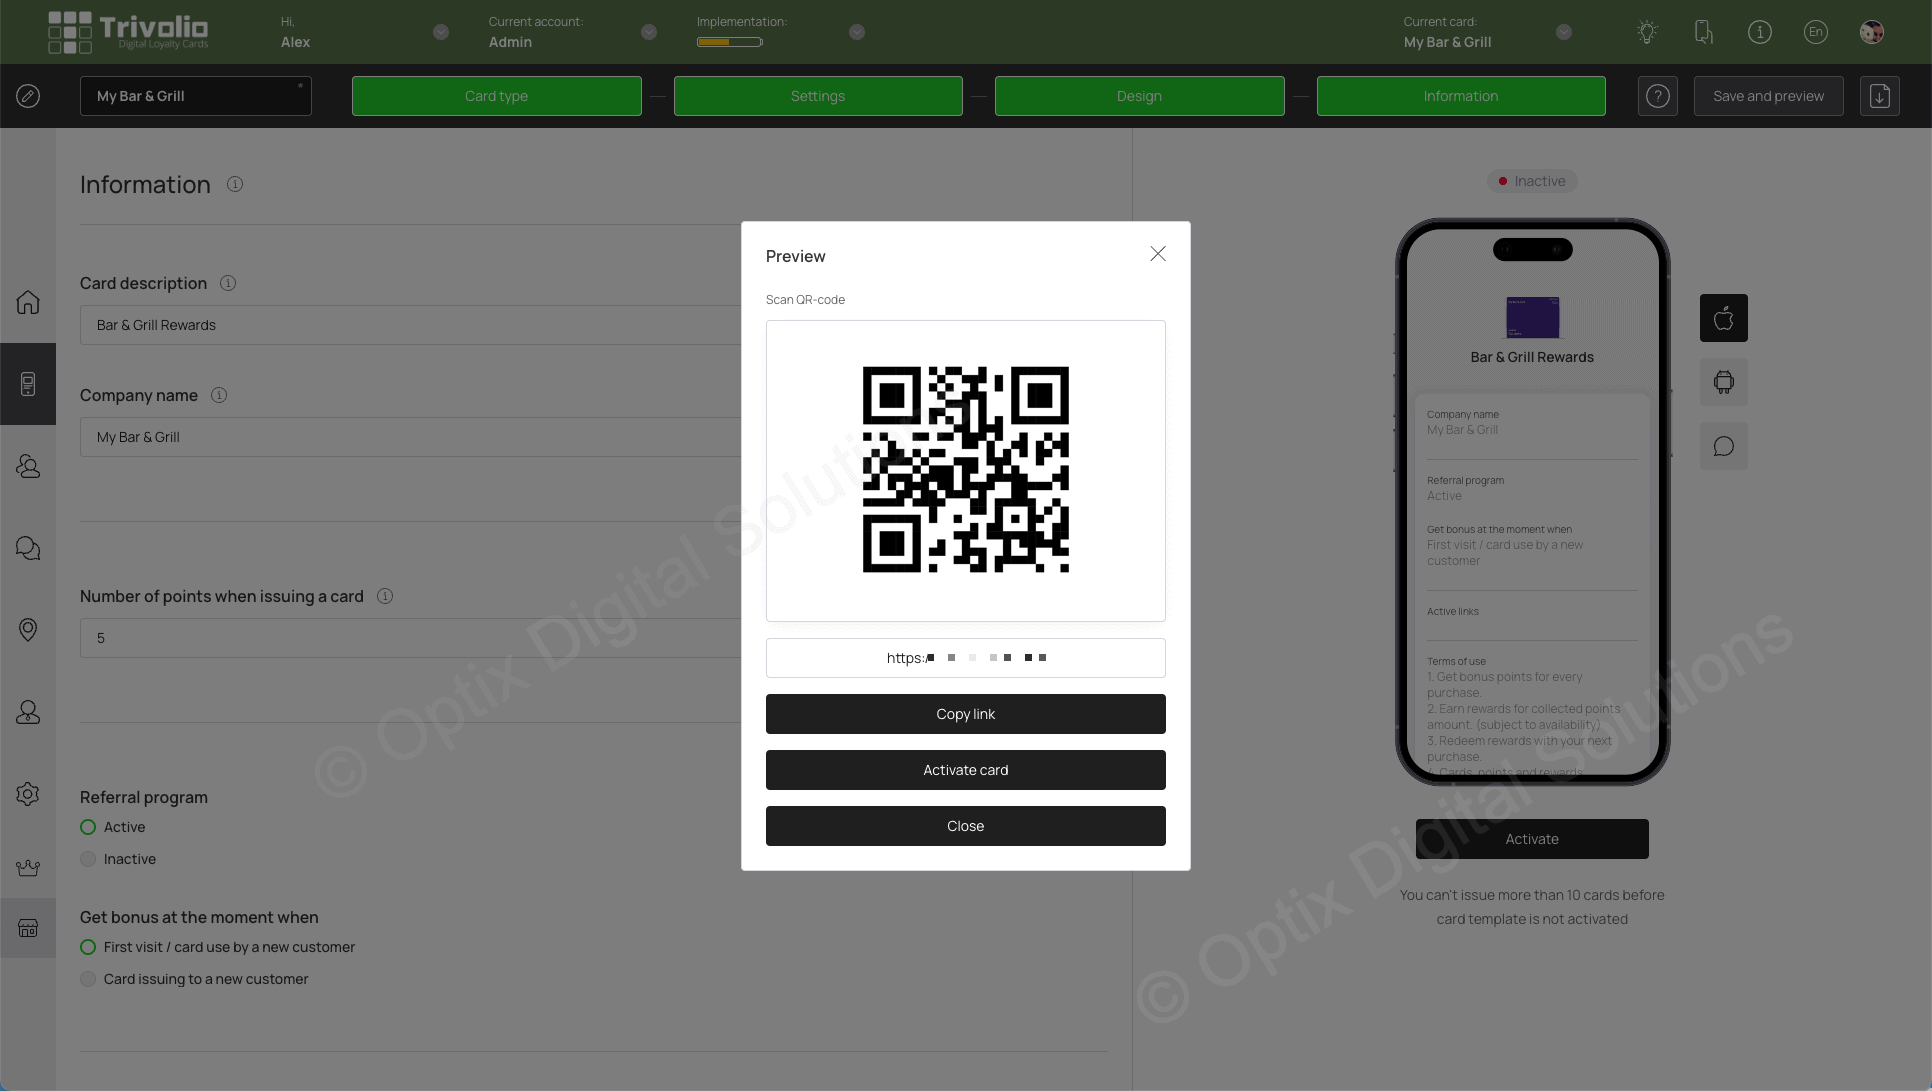
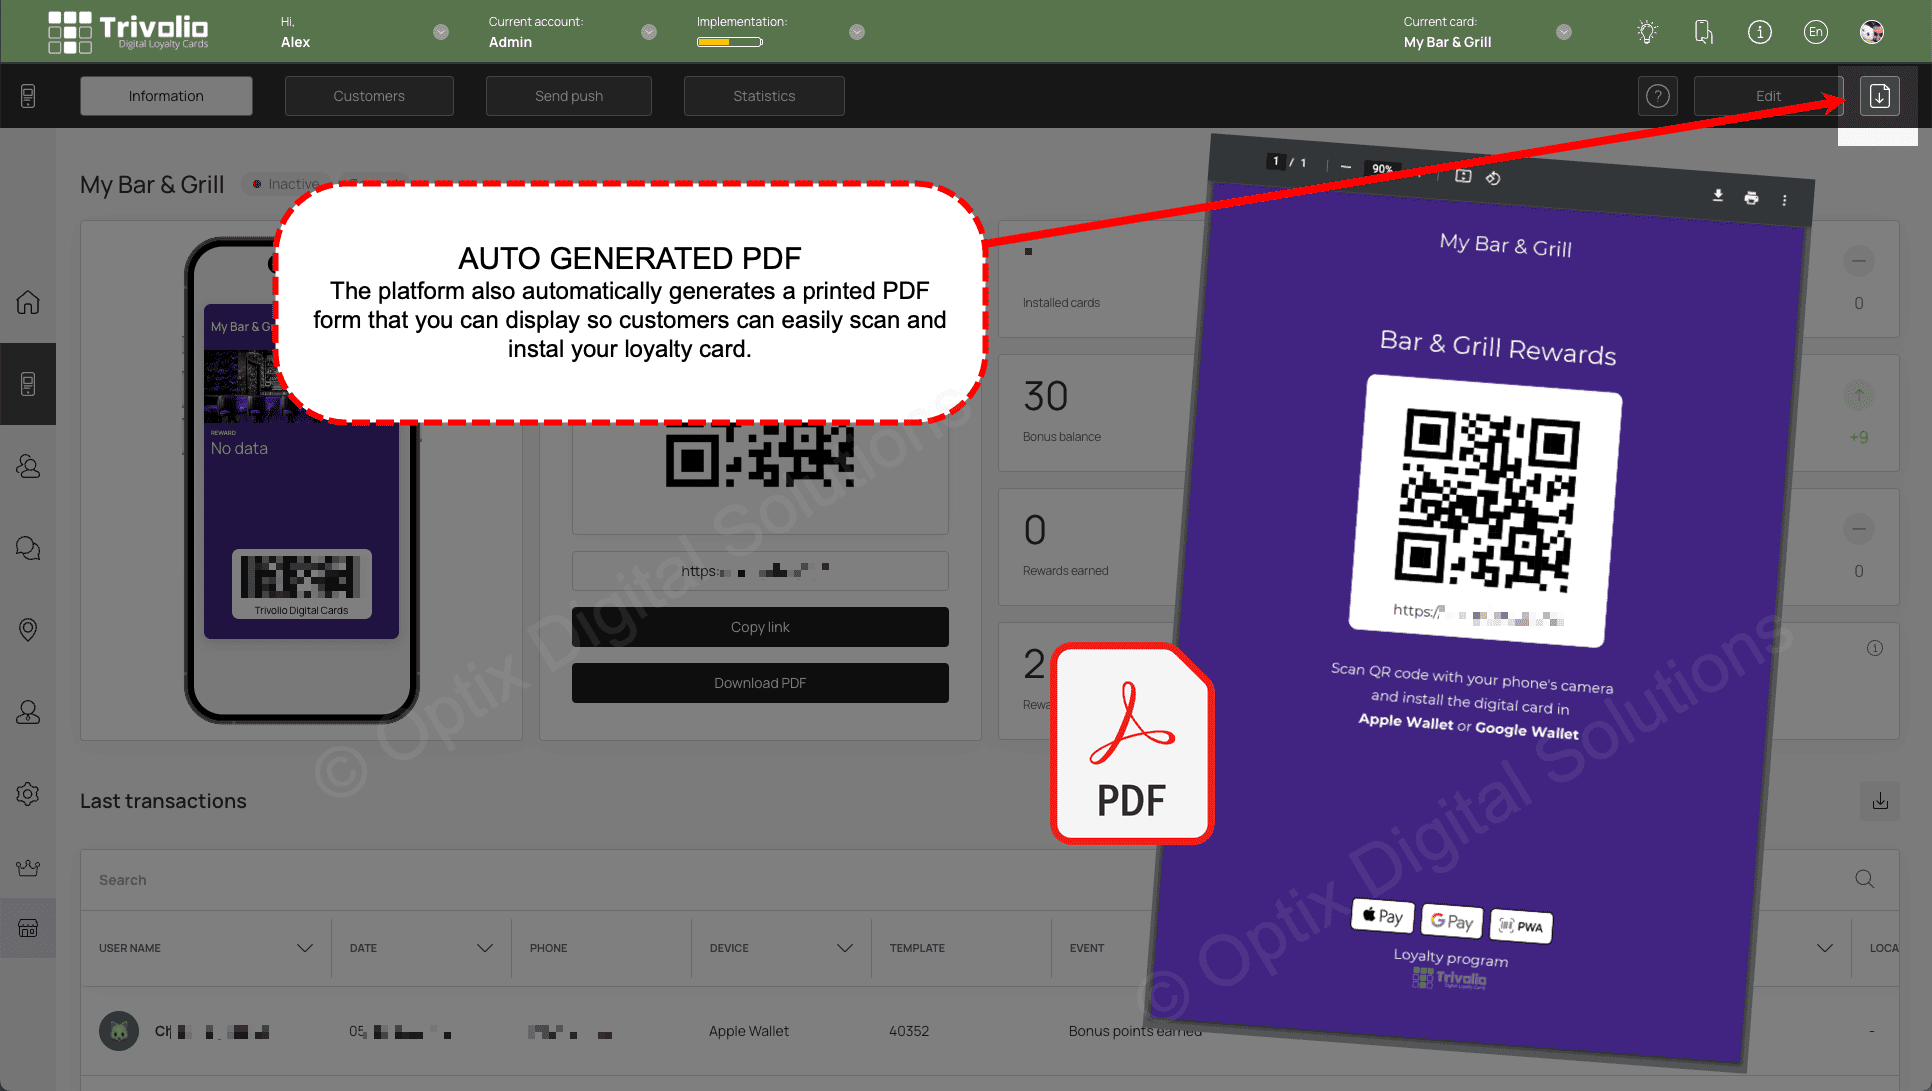
- Trivolio also automatically creates a PDF document so you can print it an display it at your location.
